Scheduling
Warning
Visit RudderStack Docs for more up-to-date information on the new UI and Activation API.
By making your PB Project as a GIT Repository, you can seamlessly collaborate with your teammates, with modular control over your model files. Check out this link on making your project available as a git repository.
Prerequisites
You should have already created a GIT Repository from your PB project.
We recommend using a different target schema and user for profiles for RudderStack cloud than the one used for CLI. This will maintain isolation of manual runs using CLI and those by RudderStack cloud.
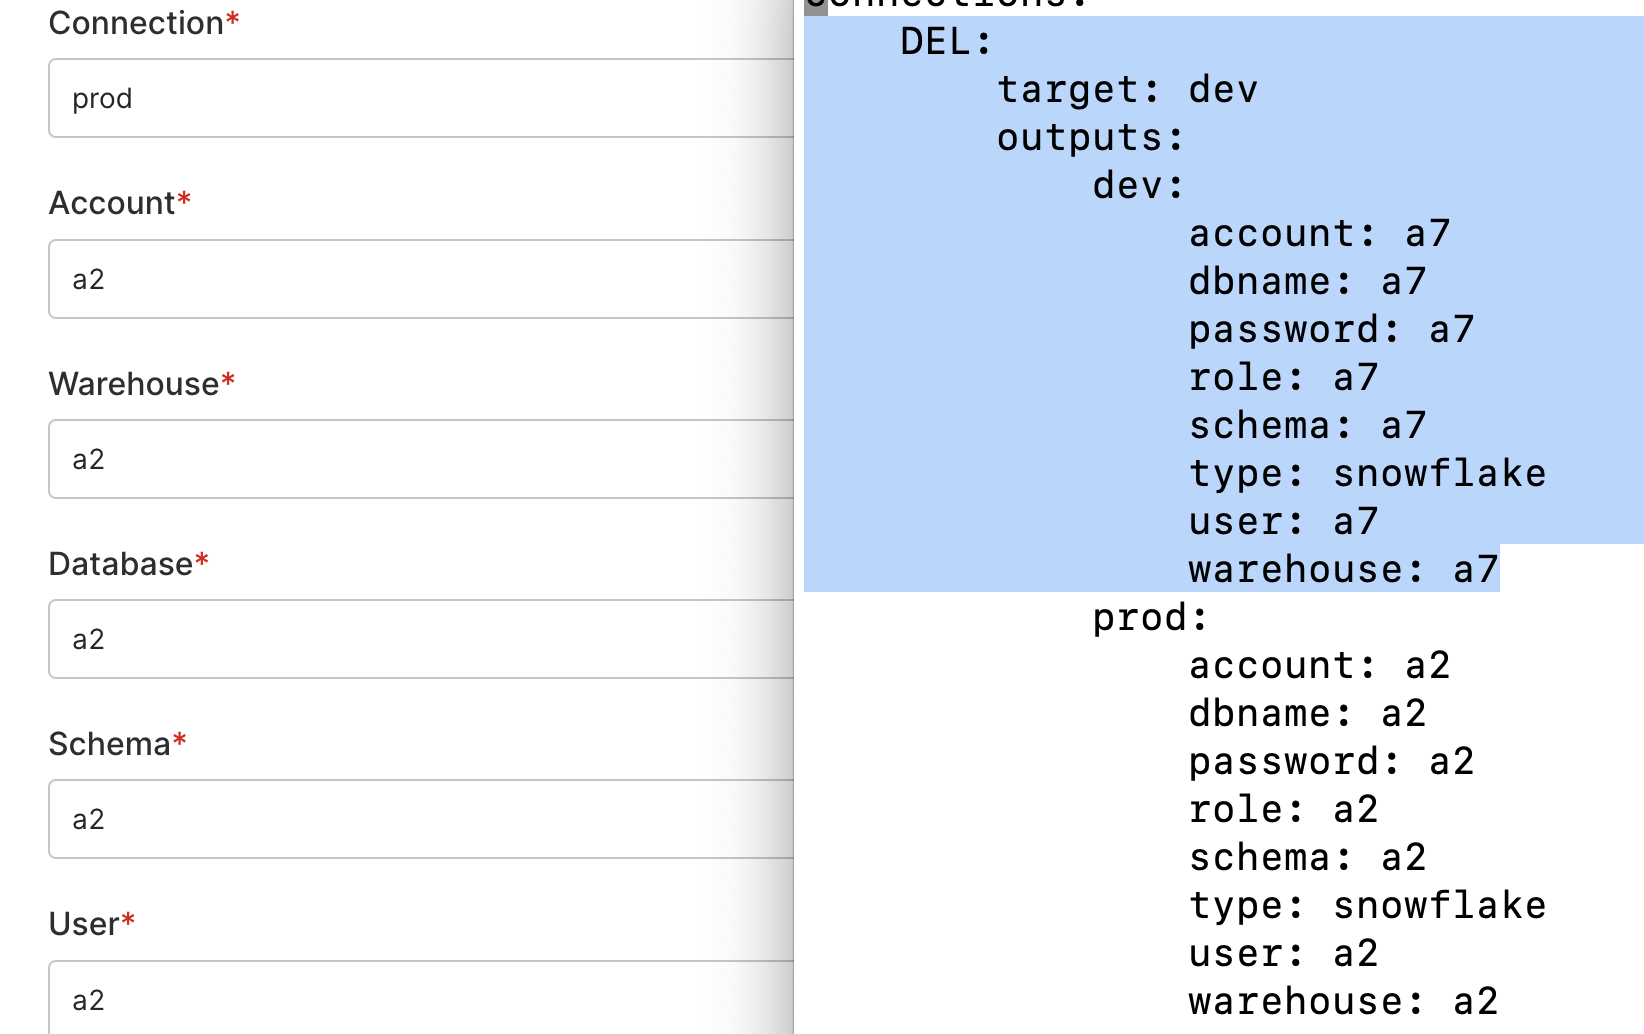
Different target schema in web app (left) and CLI (right).
Configure Web App
Follow these steps to configure Profiles from the RudderStack web app:
Login to RudderStack web app.
RudderStack Web App
On the left side navigation bar, click on ‘Enhance’, then ‘Profiles’.
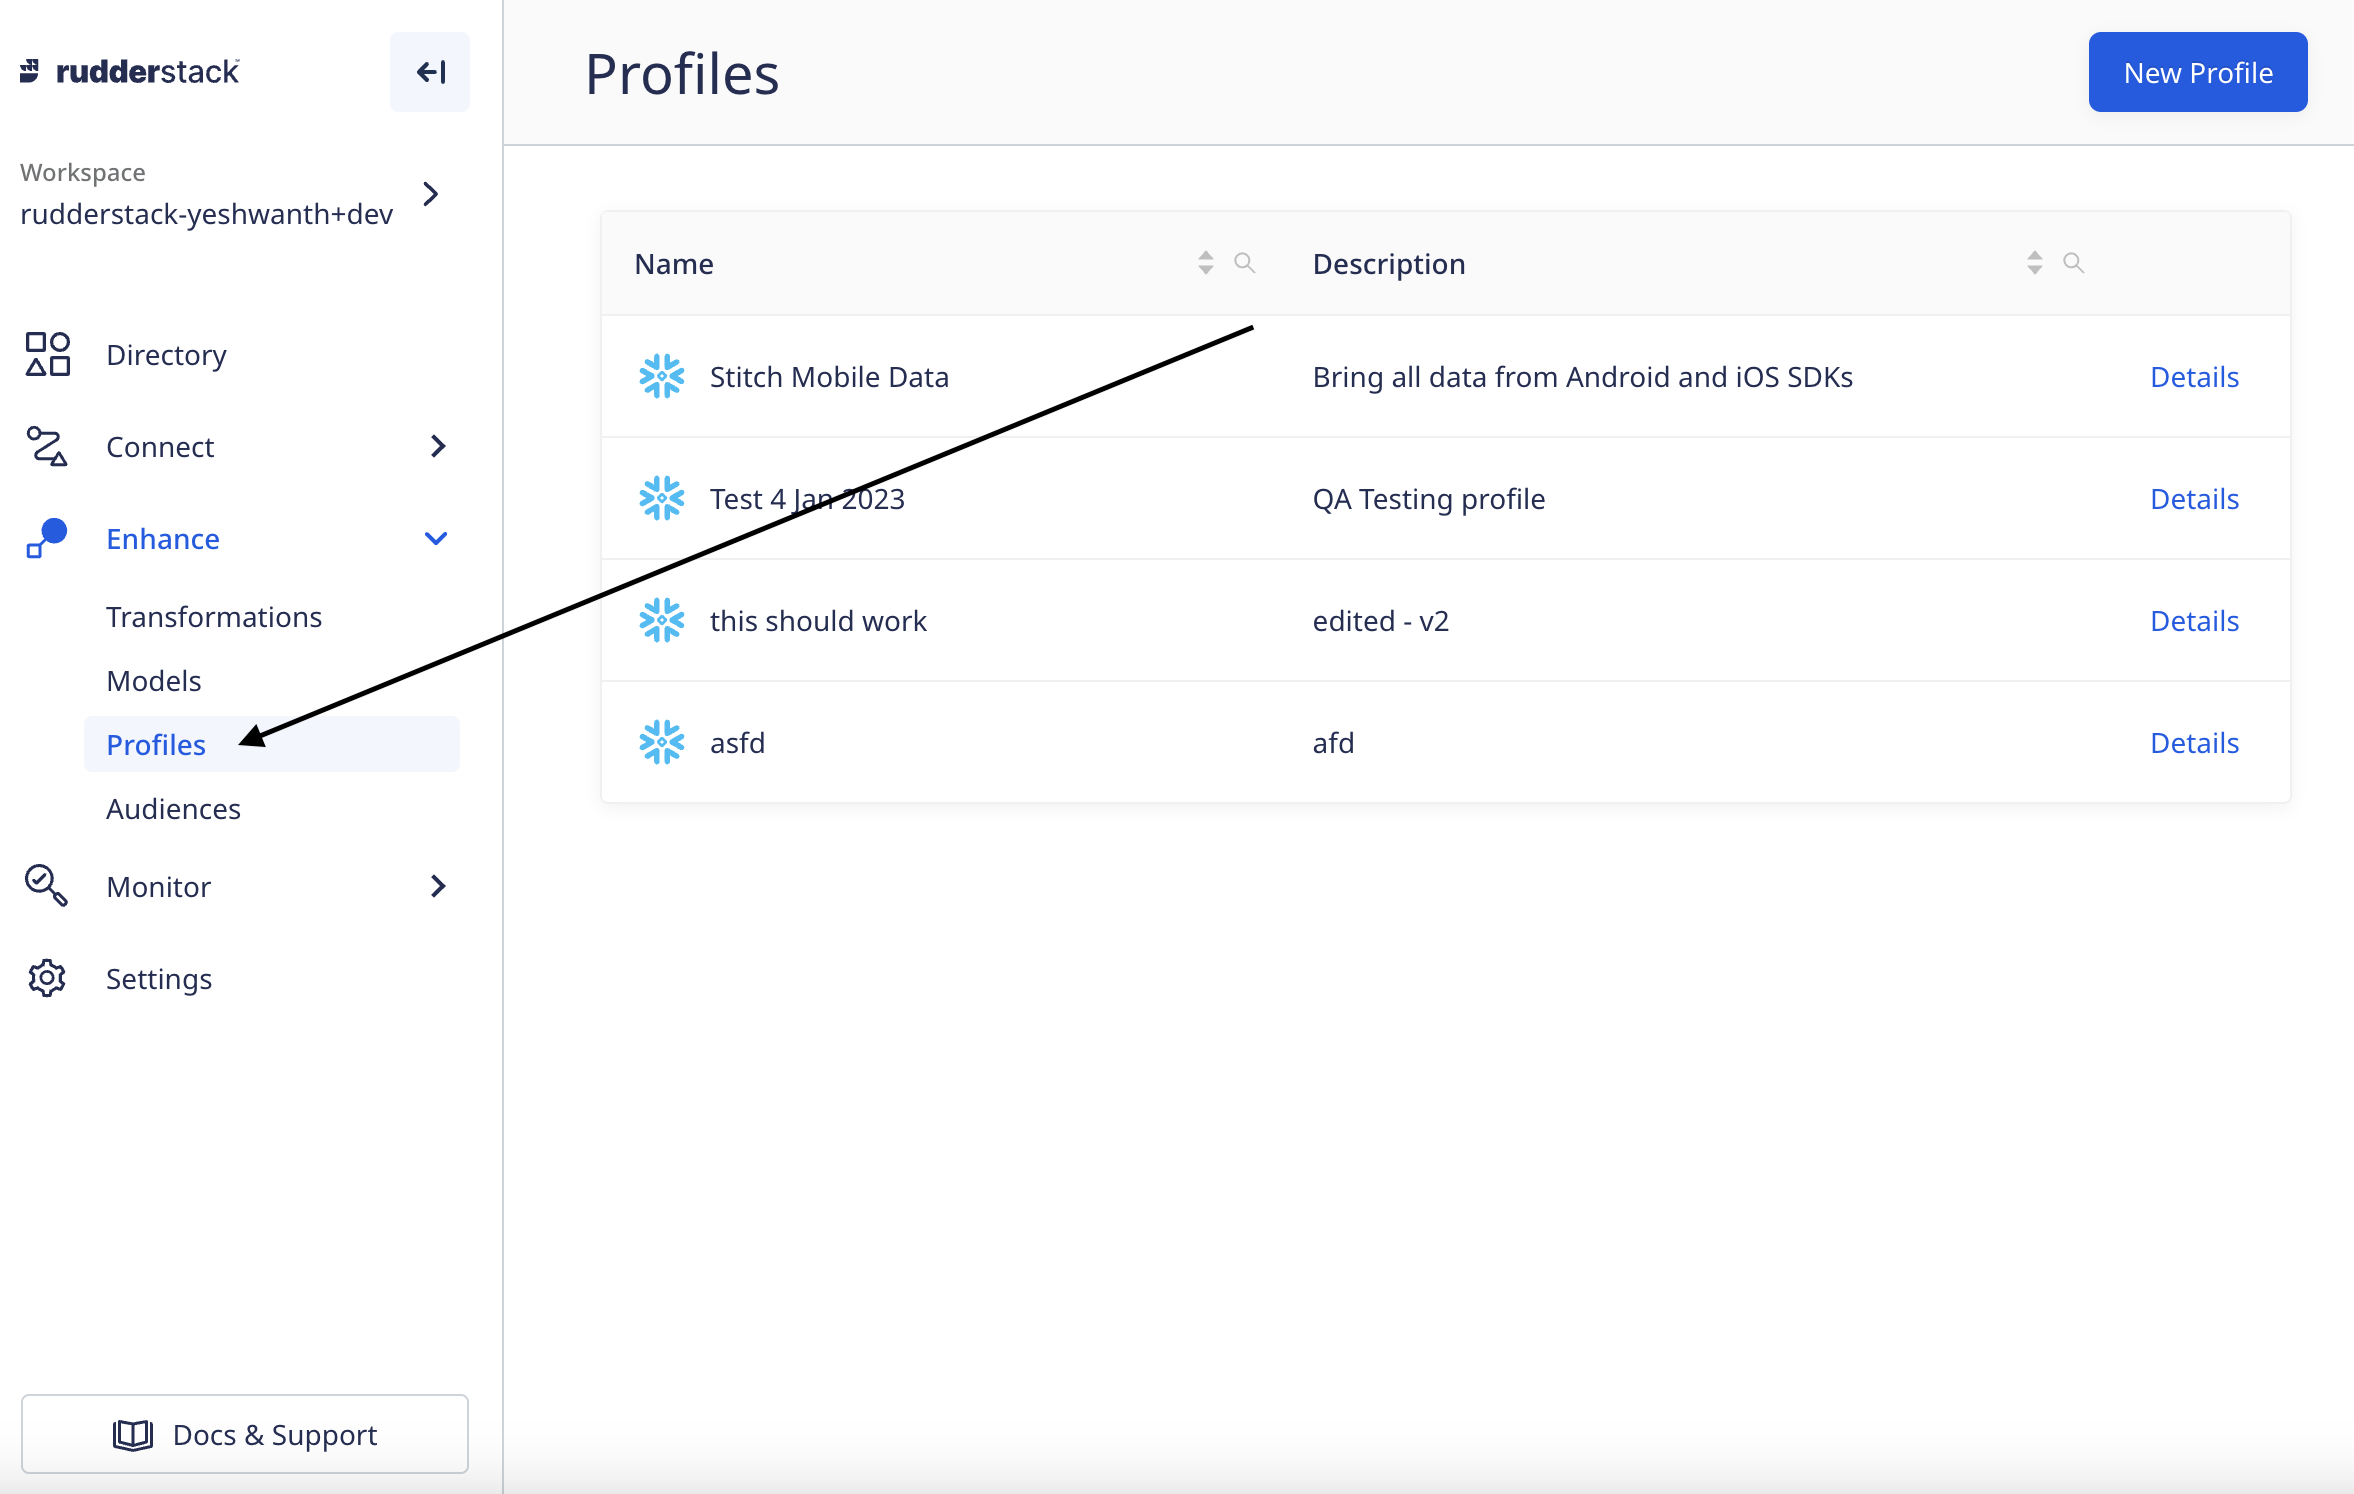
Profiles on left sidebar
On top right, click on the button ‘New Profile’.
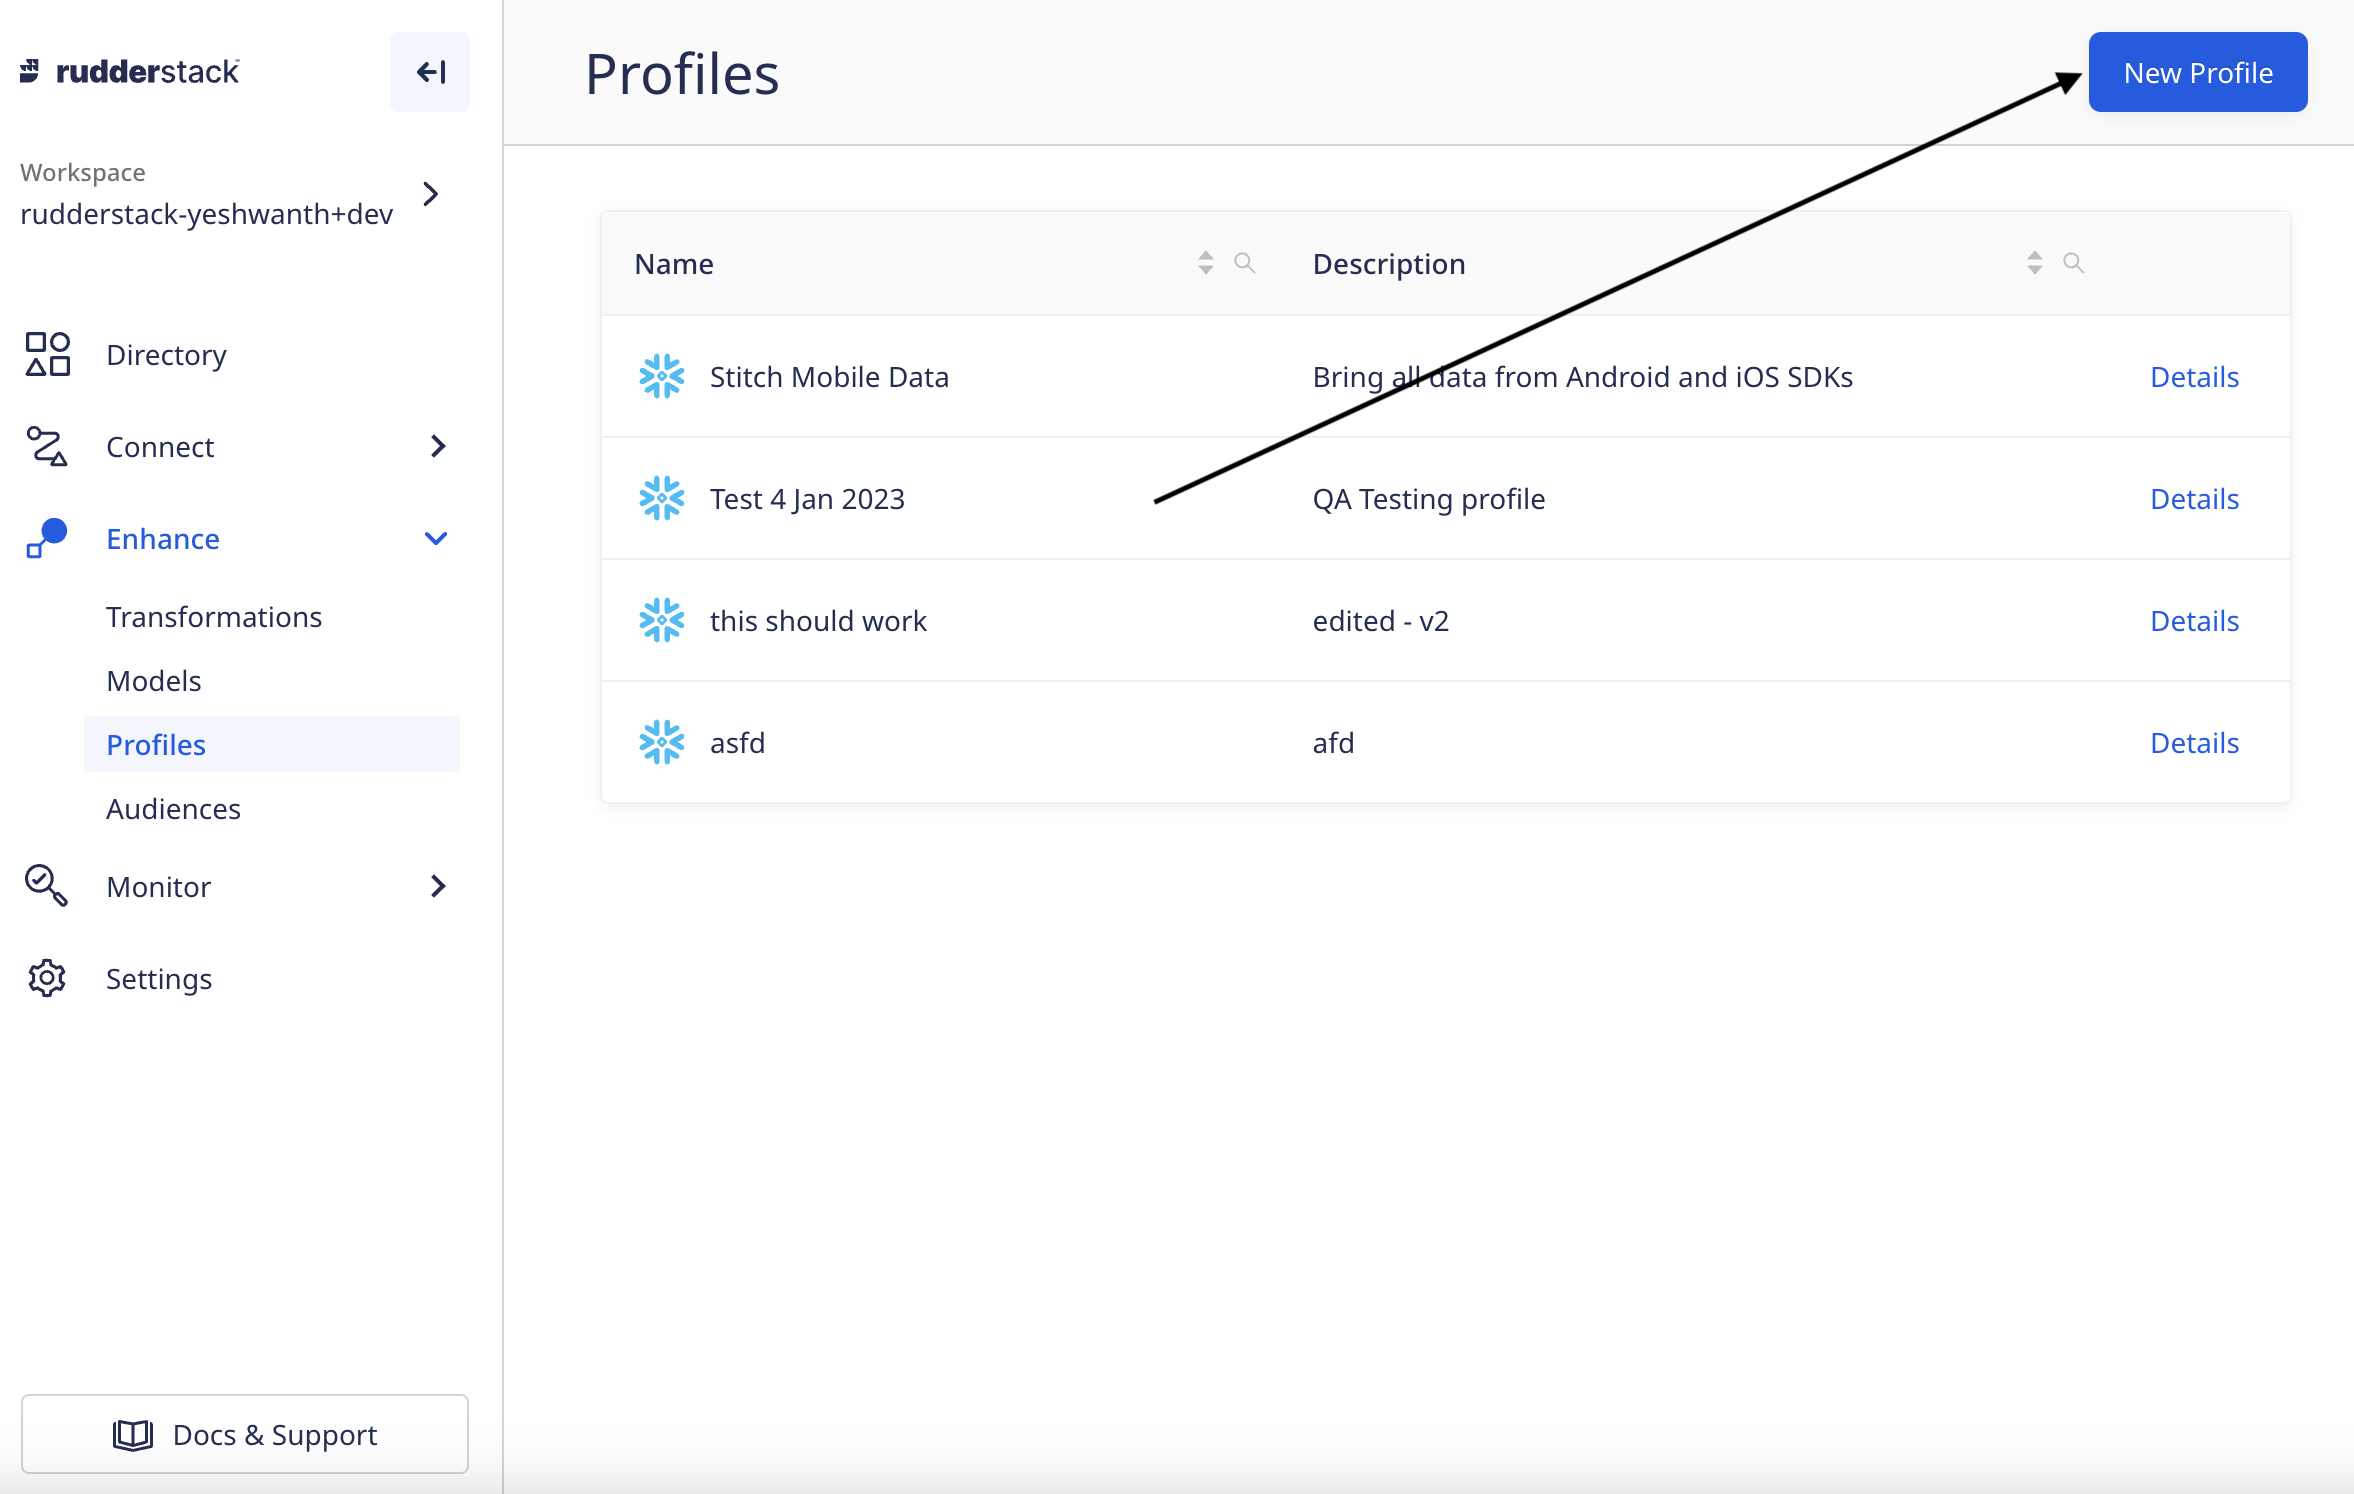
Create New Profile
Enter the Profile name and description (optional), then click on the button “Done” to save changes.
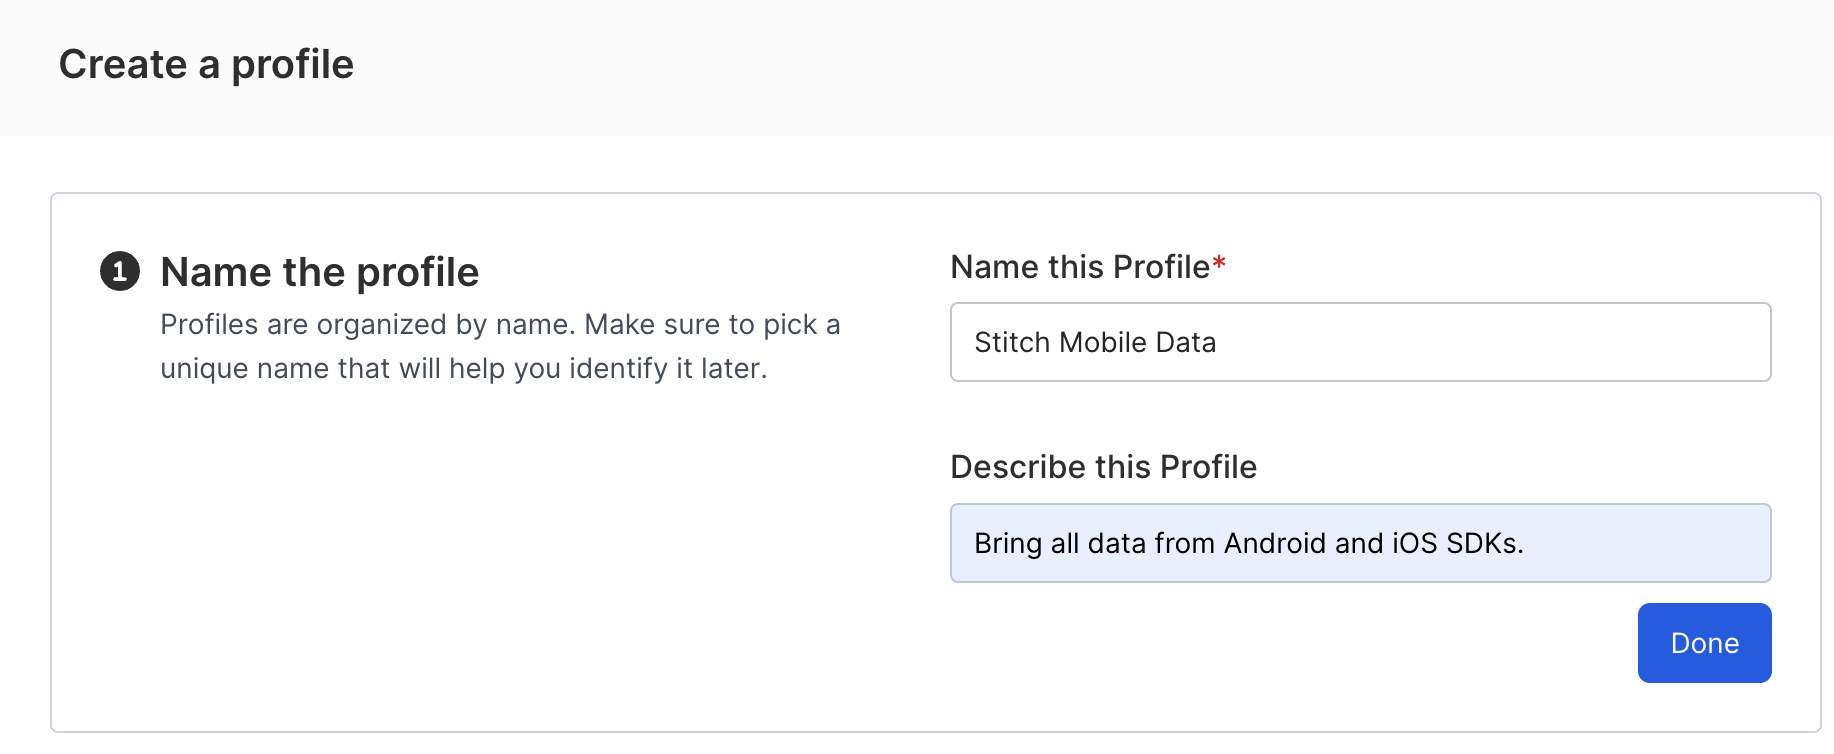
Enter Profile Name and Description
Next, enter the GIT Repo SSH URL.
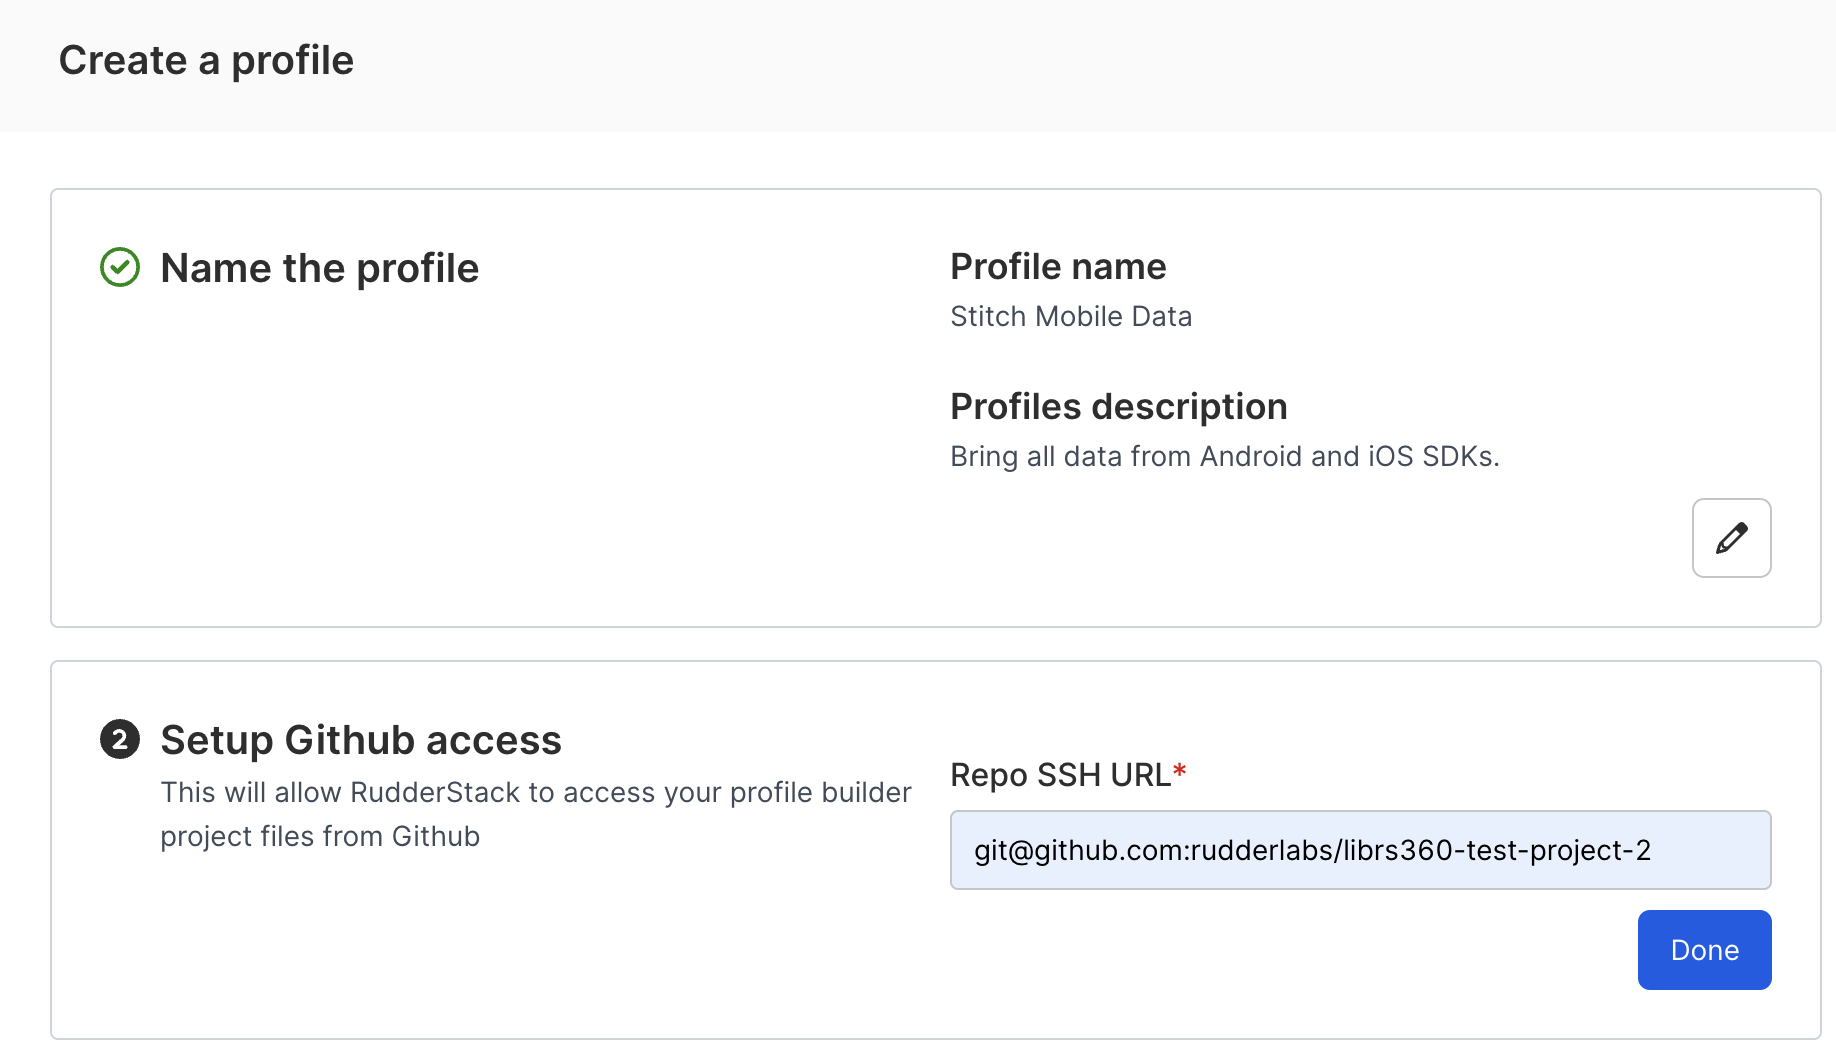
Add GIT Repo URL
Please select the warehouse (Snowflake or Redshift) and enter data warehouse credentials. Say you selected Snowflake, so please enter Profile, Account, Warehouse Name, Database, Schema, User, Password and Role.
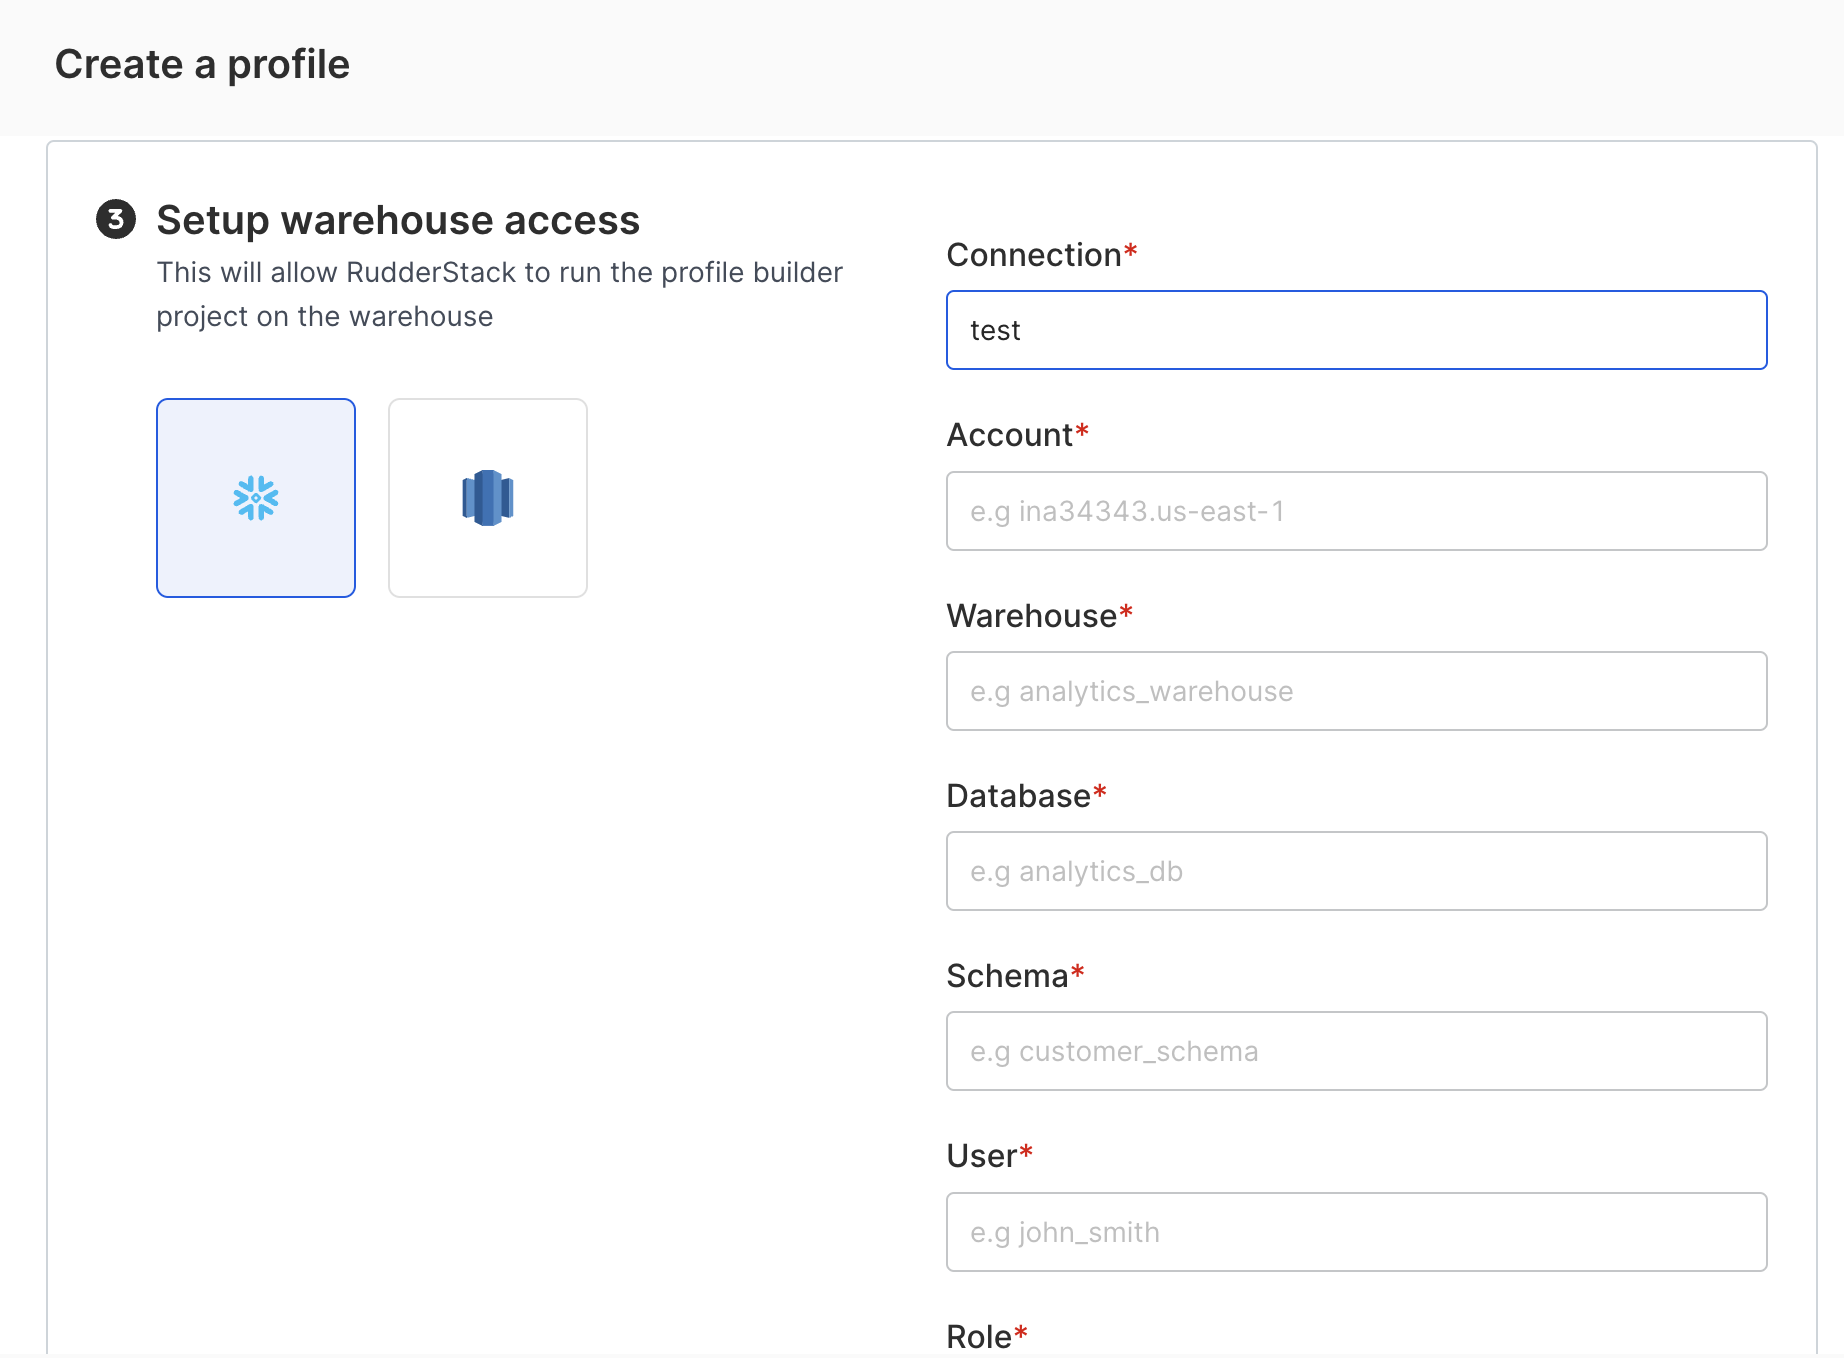
Add Warehouse Credentials
Now you can define the interval at which to automatically run the profile, using one of these scheduling options:
Basic: If you want to run on a fixed set of intervals.Cron: If you want to run on, say, every 15 minutes or 1 hour, etc. Click here to know more.Manual: Select this if you want to manually trigger a run every time.
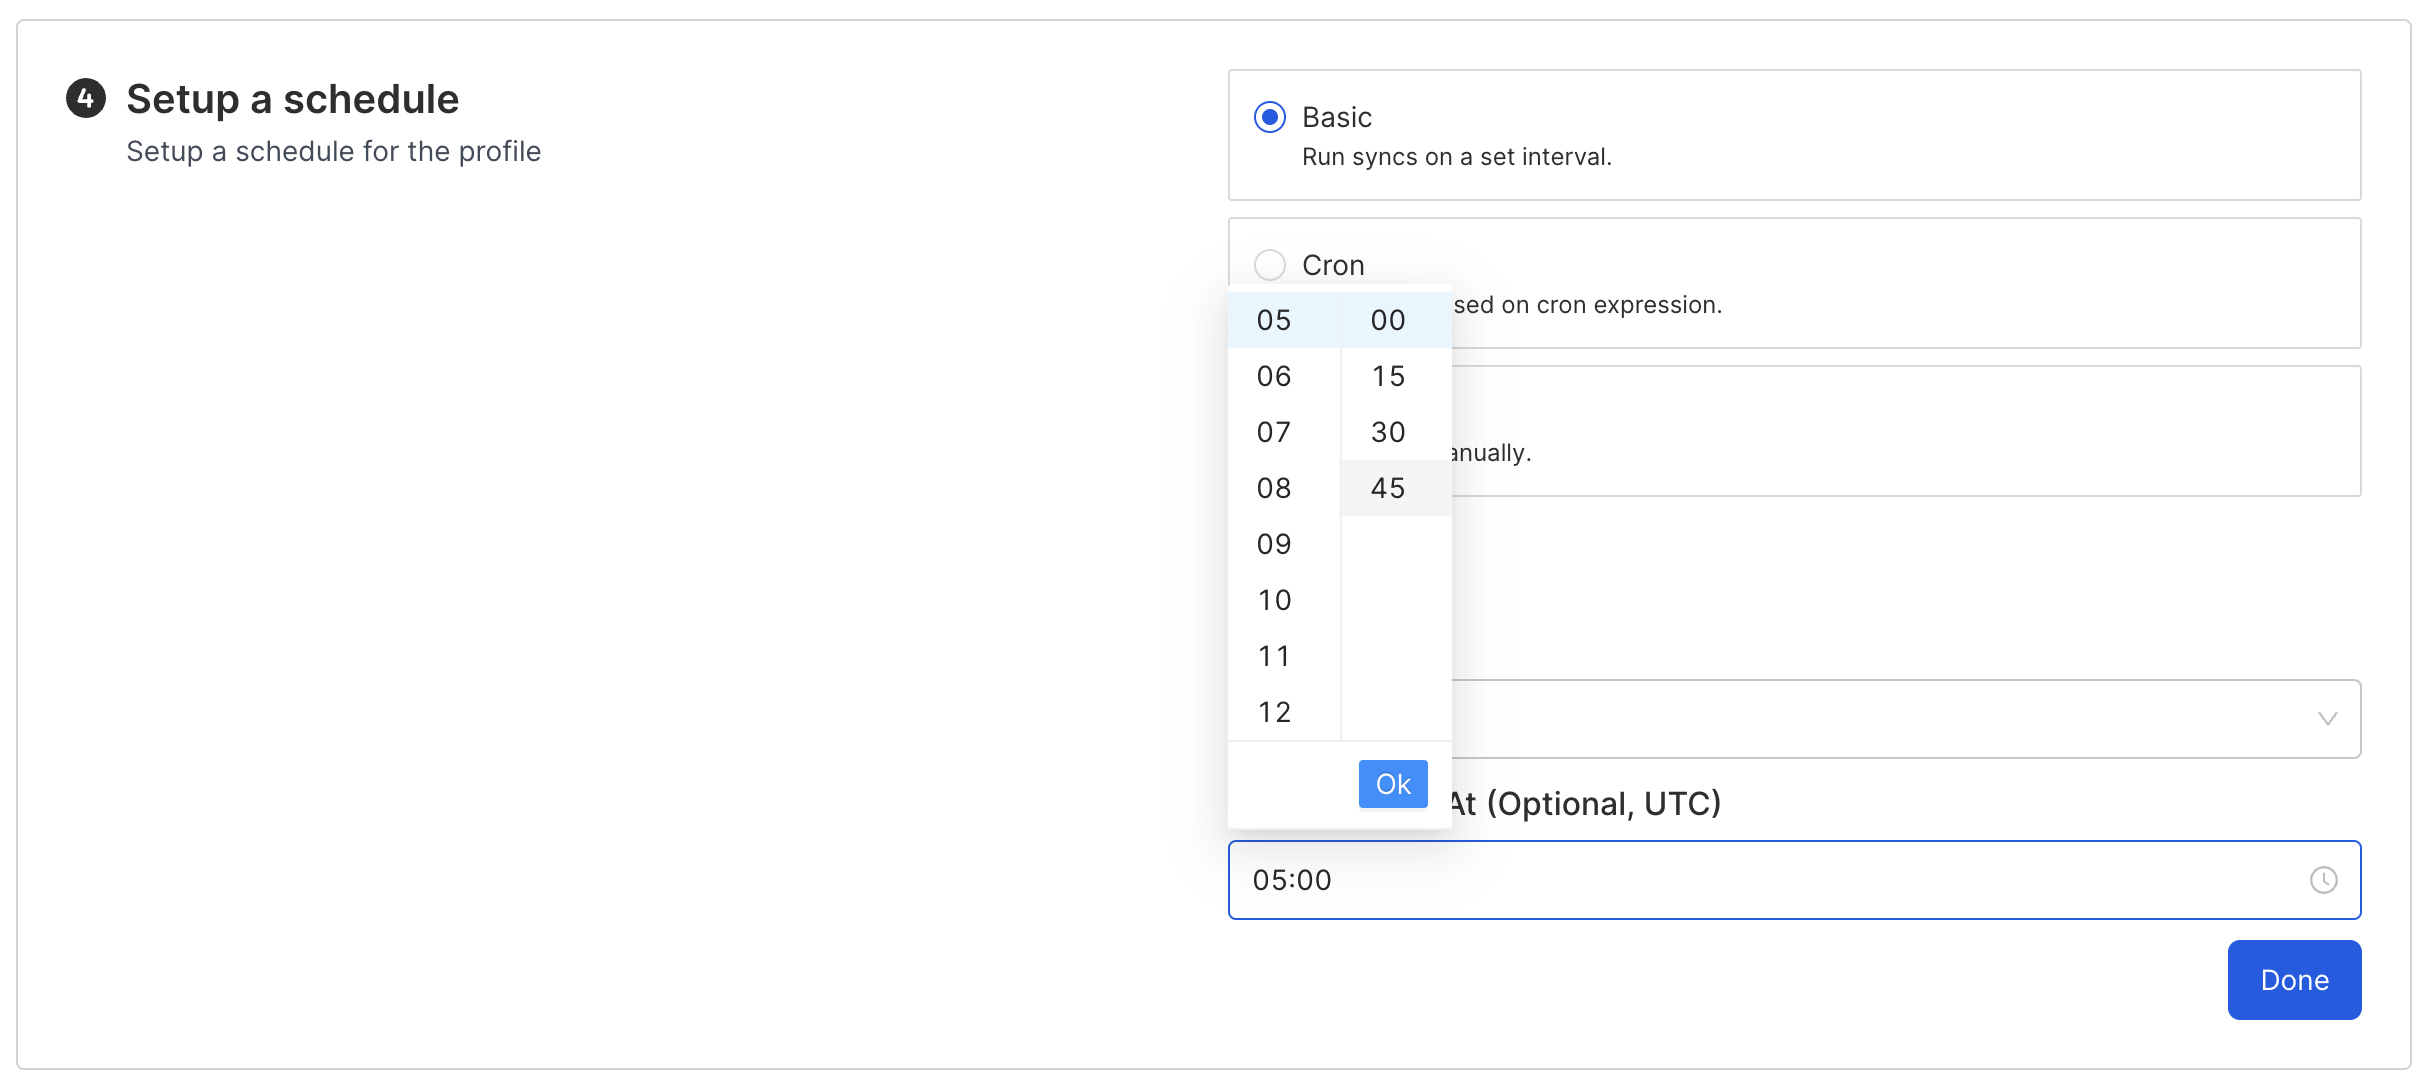
Basic Scheduling
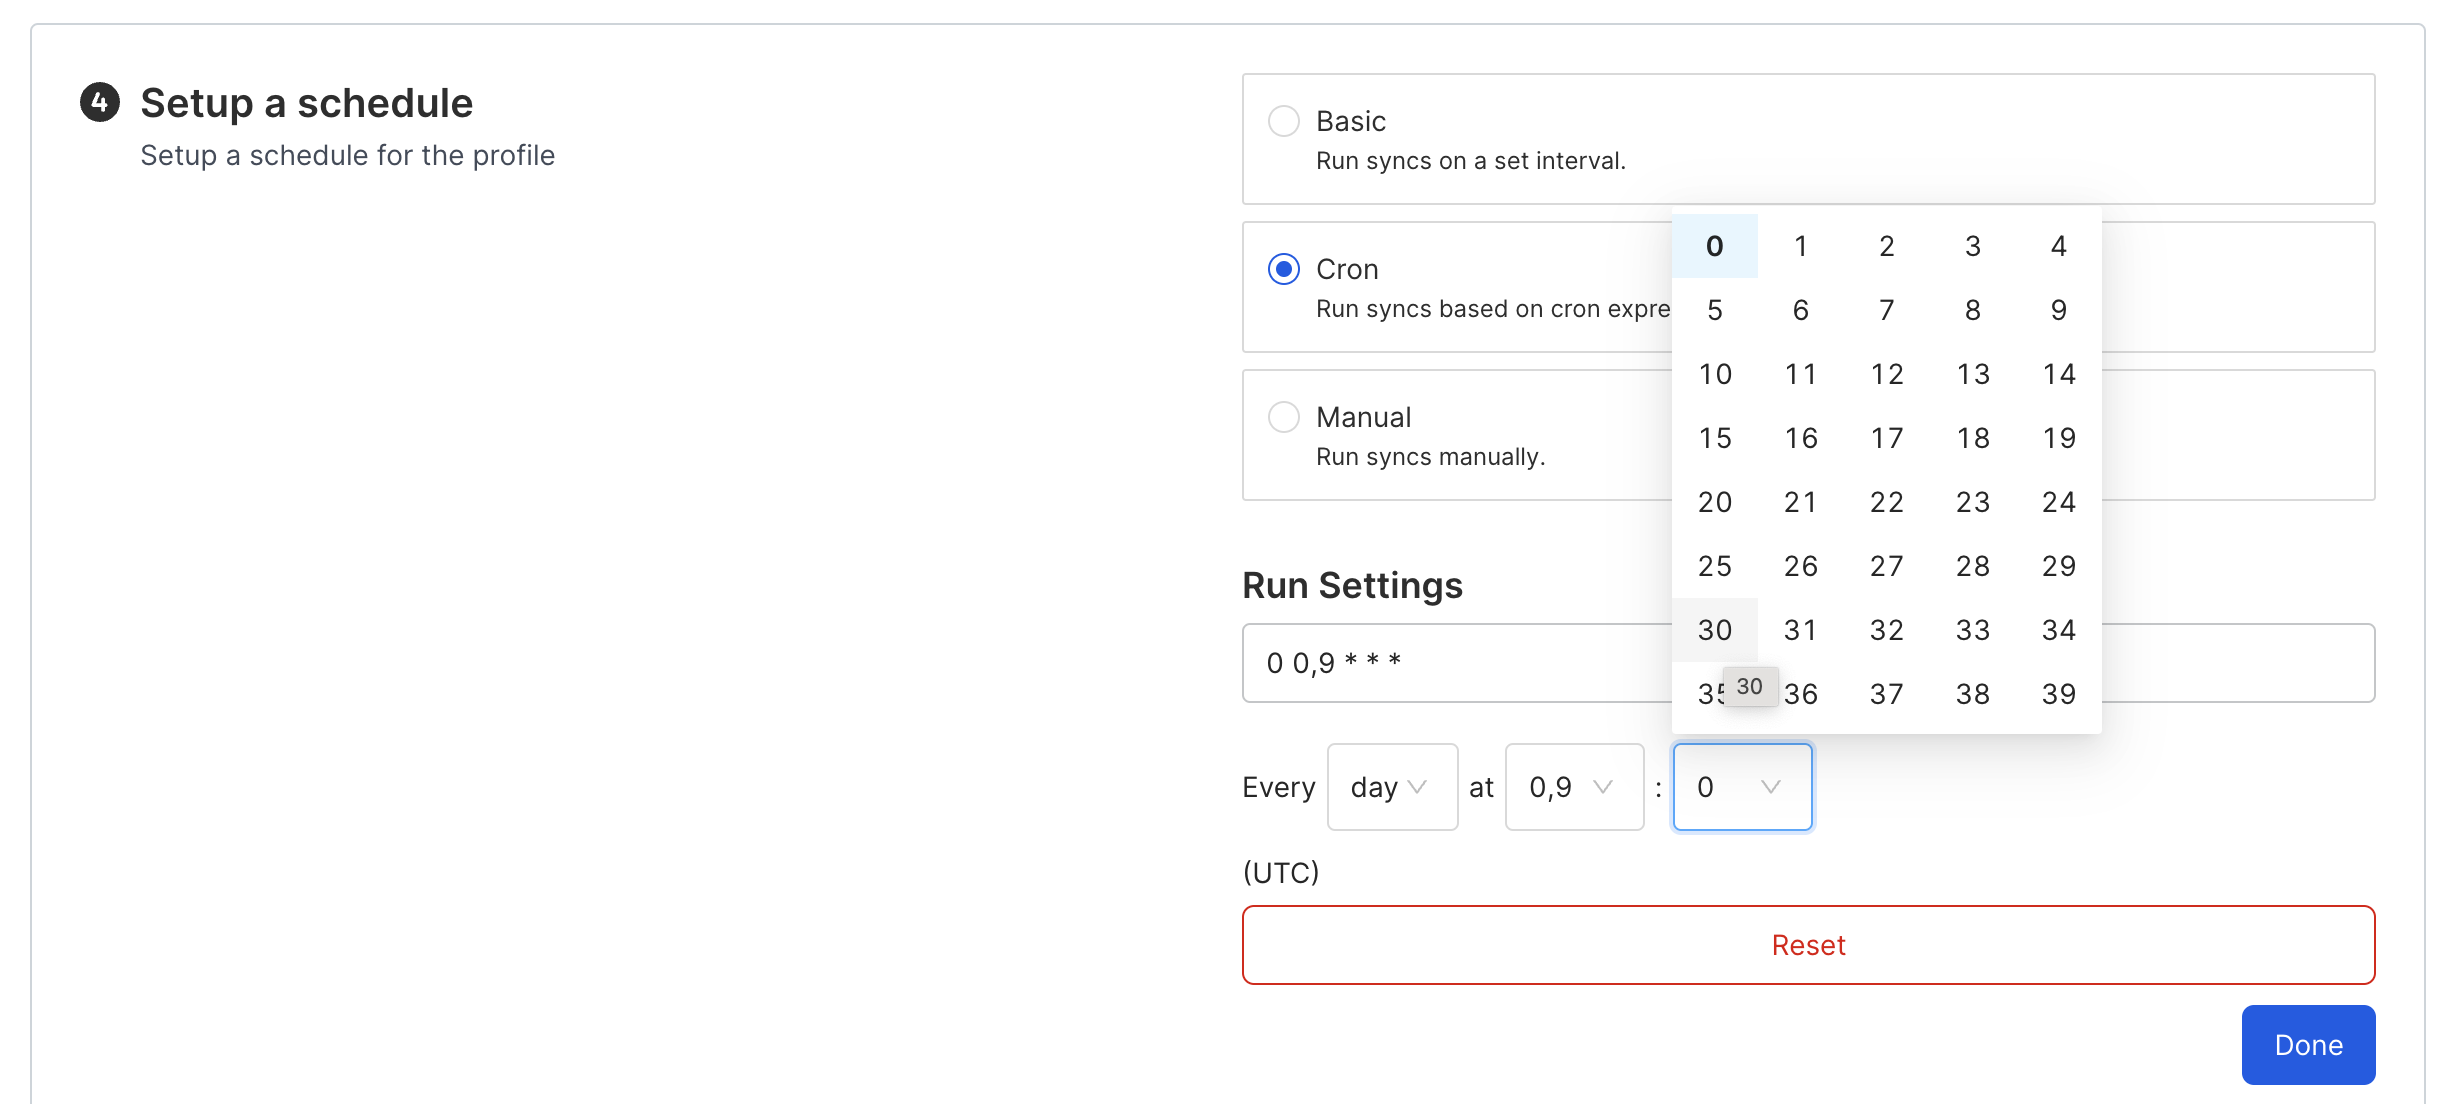
Cron Scheduling
Specify Retention time period in Days or Hours. This will retain all the materials created on warehouse within that time frame, when you do next run of the profile. Say you set this to 1 day, then after your profile has been run then it’ll check for materials older than 1 day and will clean them up.

Define Retention Policy
Click on the “Create” button at bottm right to create the profile.
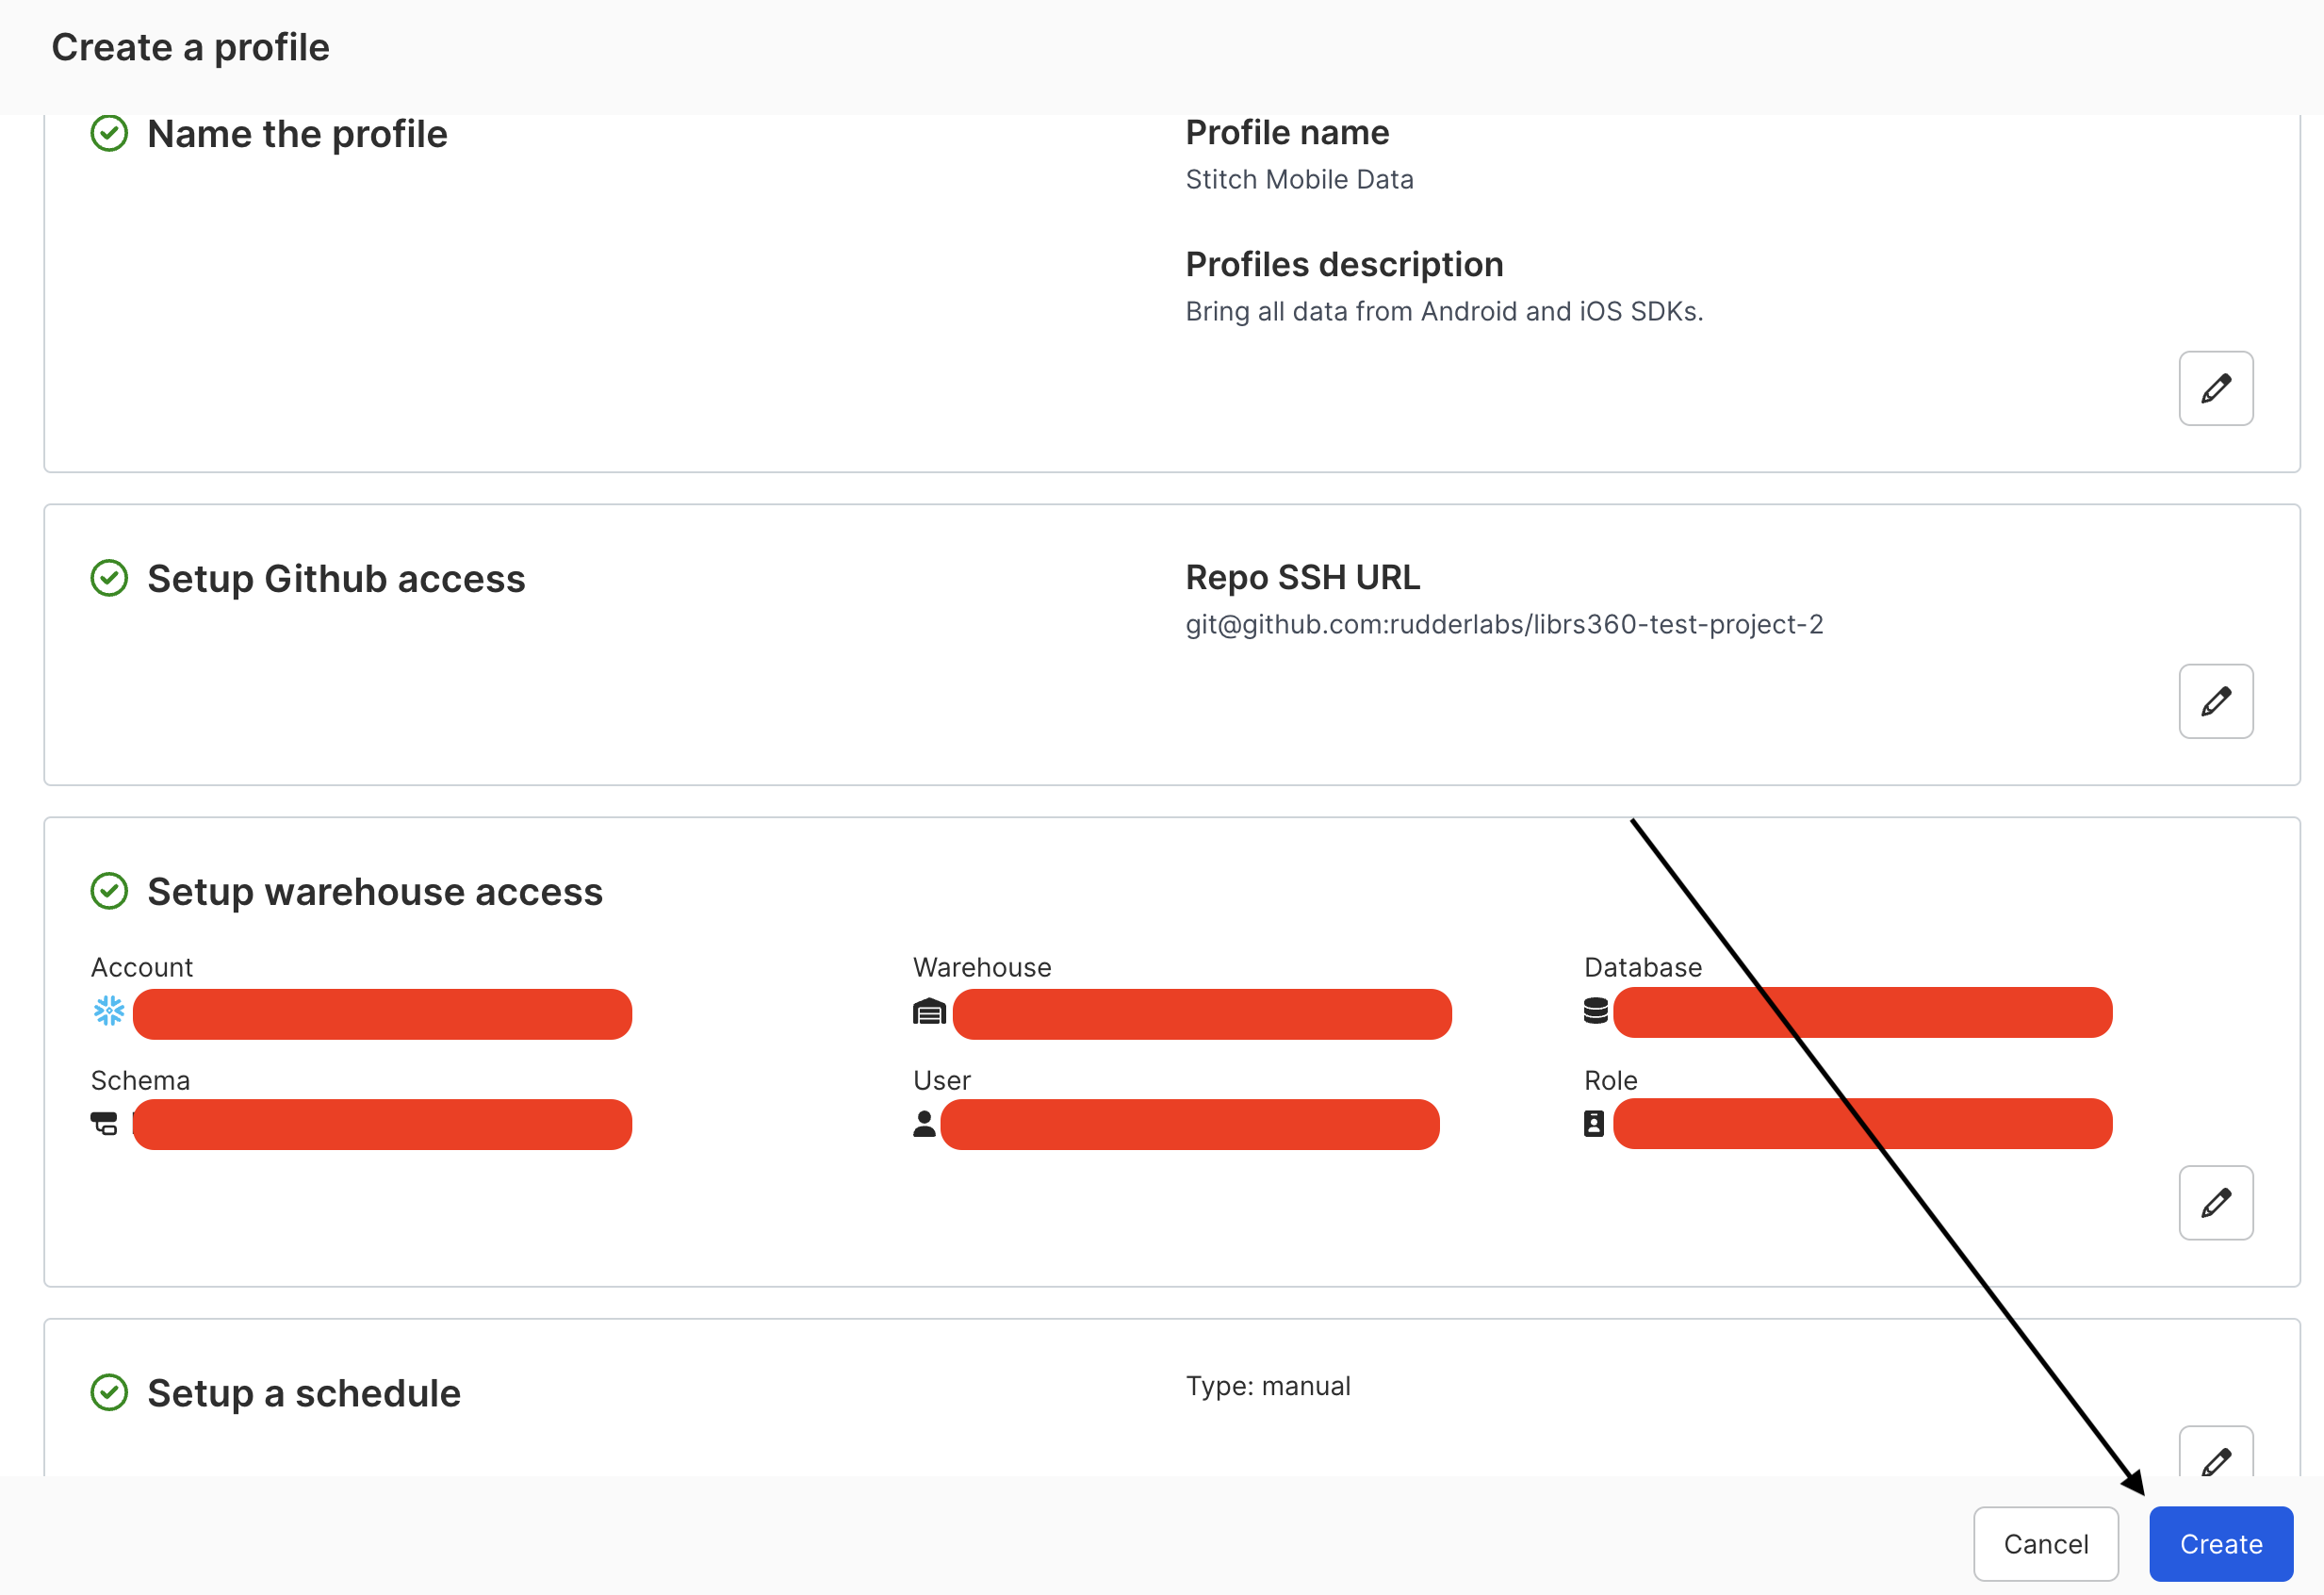
Create Profile
You will get a SSH key. Please copy, as it will not be visible later. Then, paste on your GIT Repo (see section Associating SSH Key to Git Project).
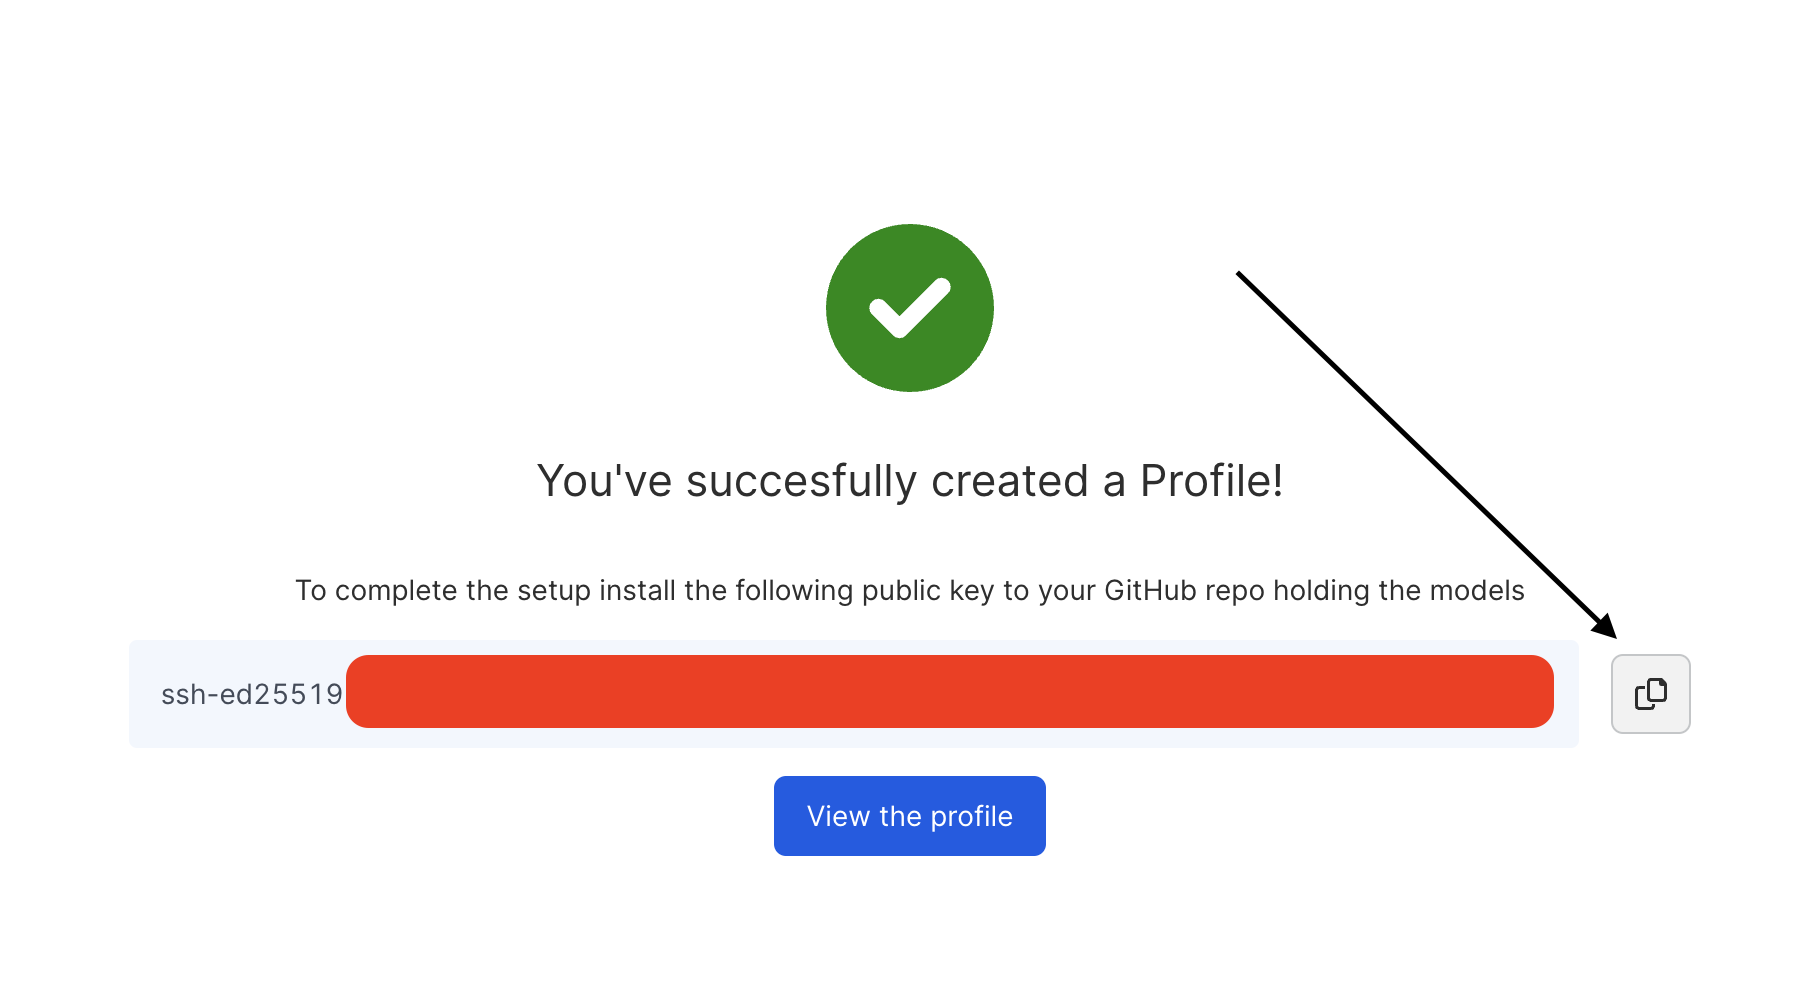
Copy SSH Key
After creating the profile, you can manually trigger its run by clicking on the Run button in top right.
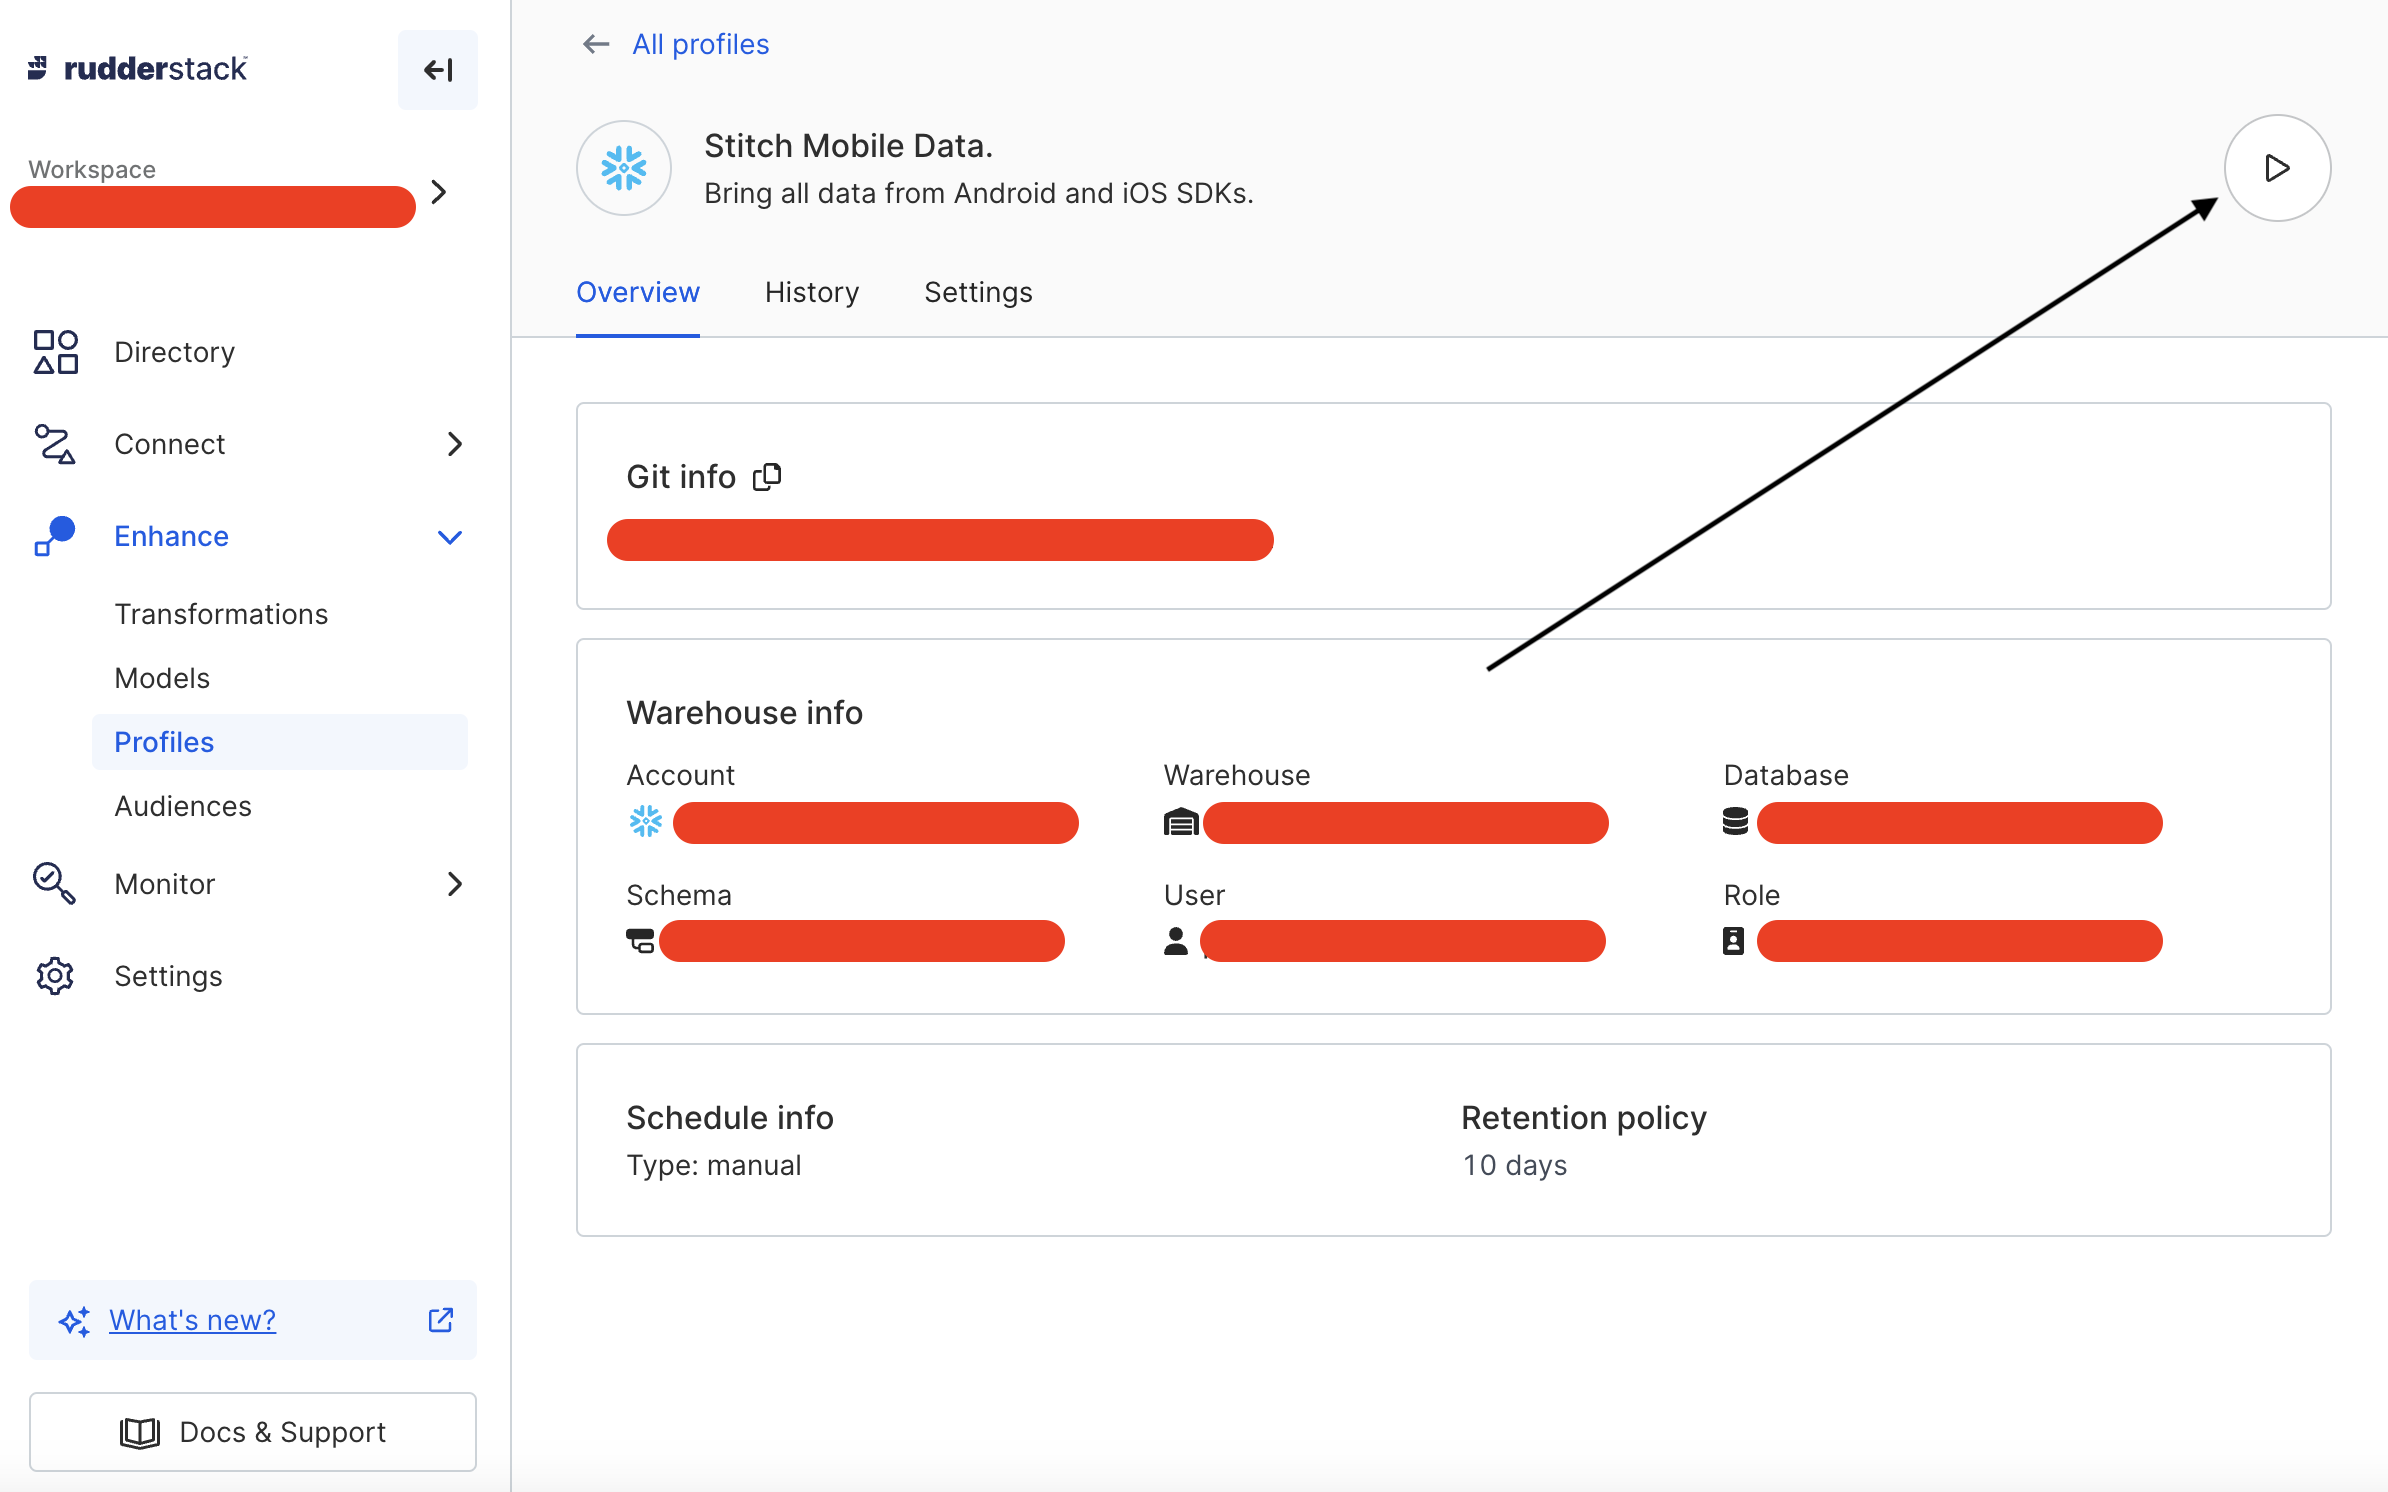
Profile details
Click on “History” to see the list of all previous runs. Use filters to narrow down dates.
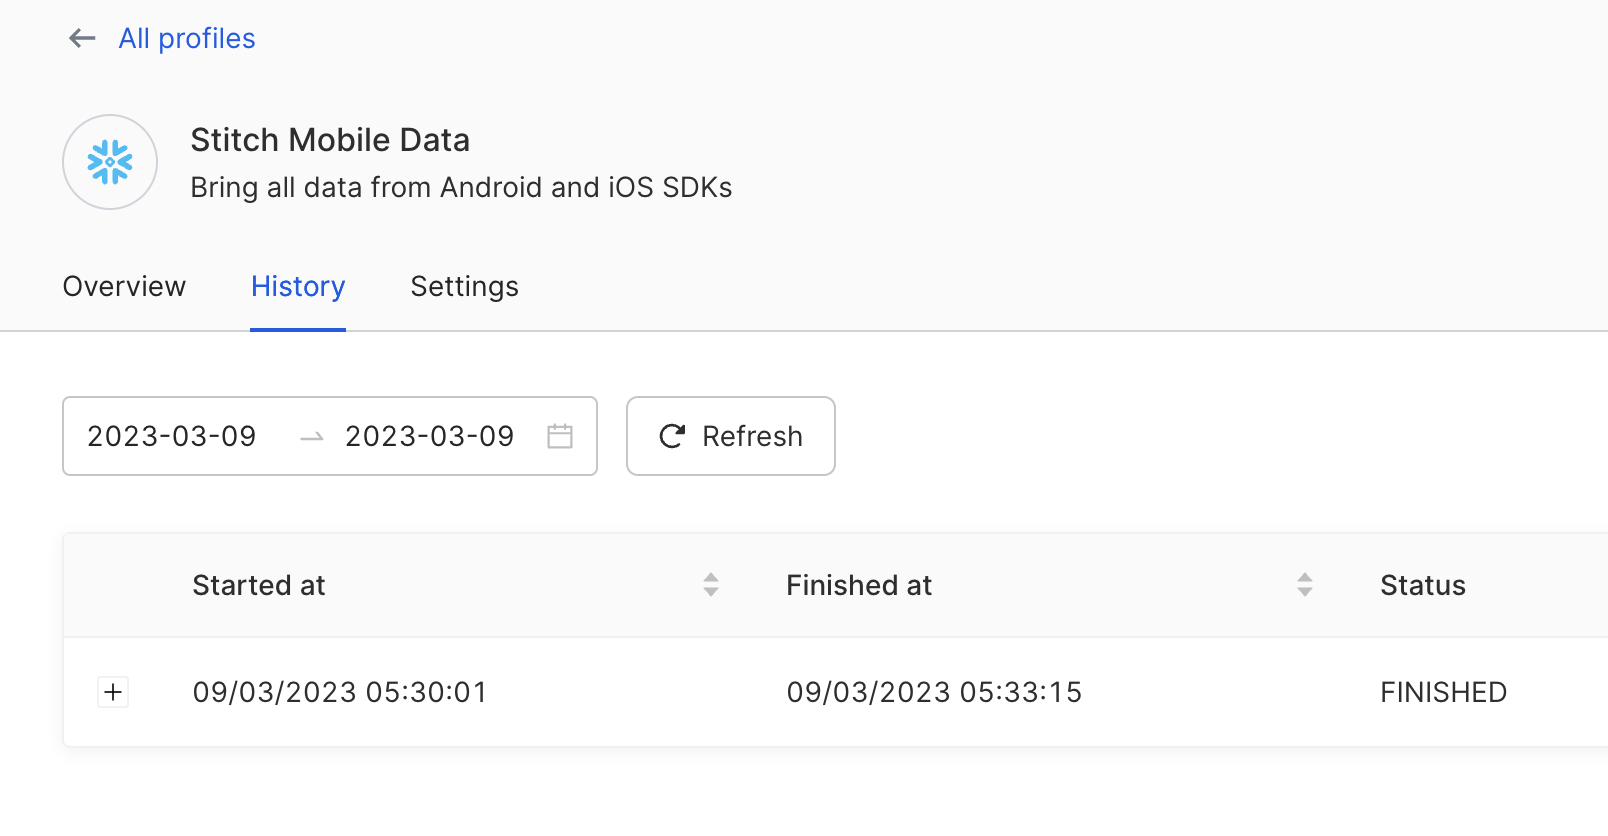
List of all instances the Profile was run
If any error message is there then it’ll be displayed on screen when you click on “Error” in the list.
Artifacts are SQL file(s) that were created and run on the warehouse. You will get folder-wise artifacts by clicking on the + button before the timestamp, showing when it was run.
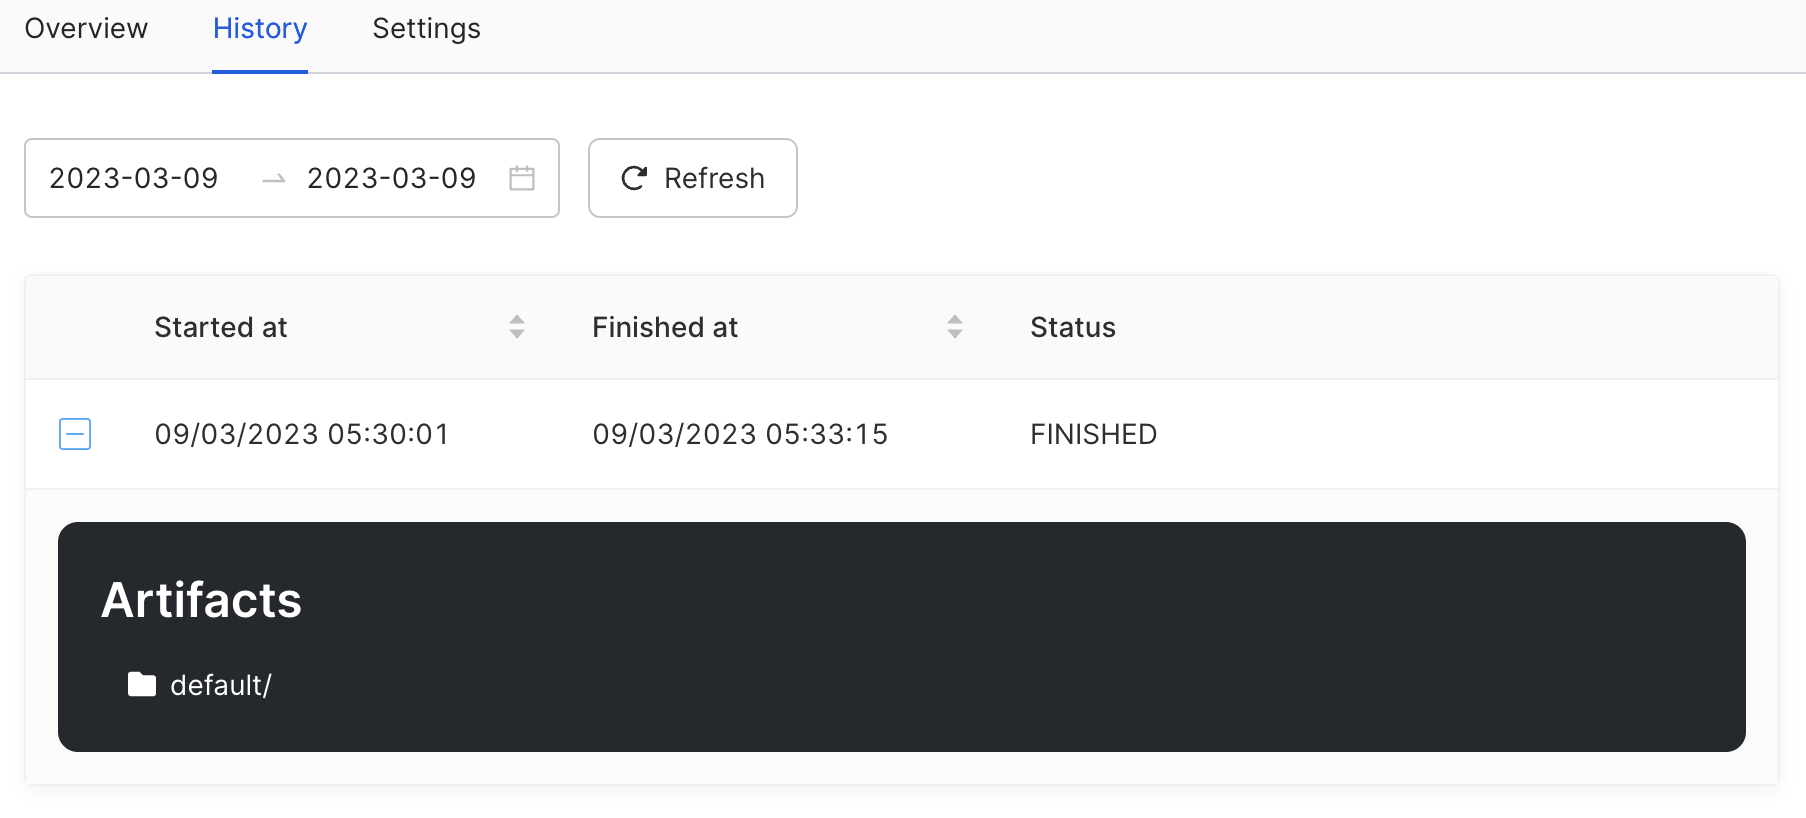
Artifacts folder
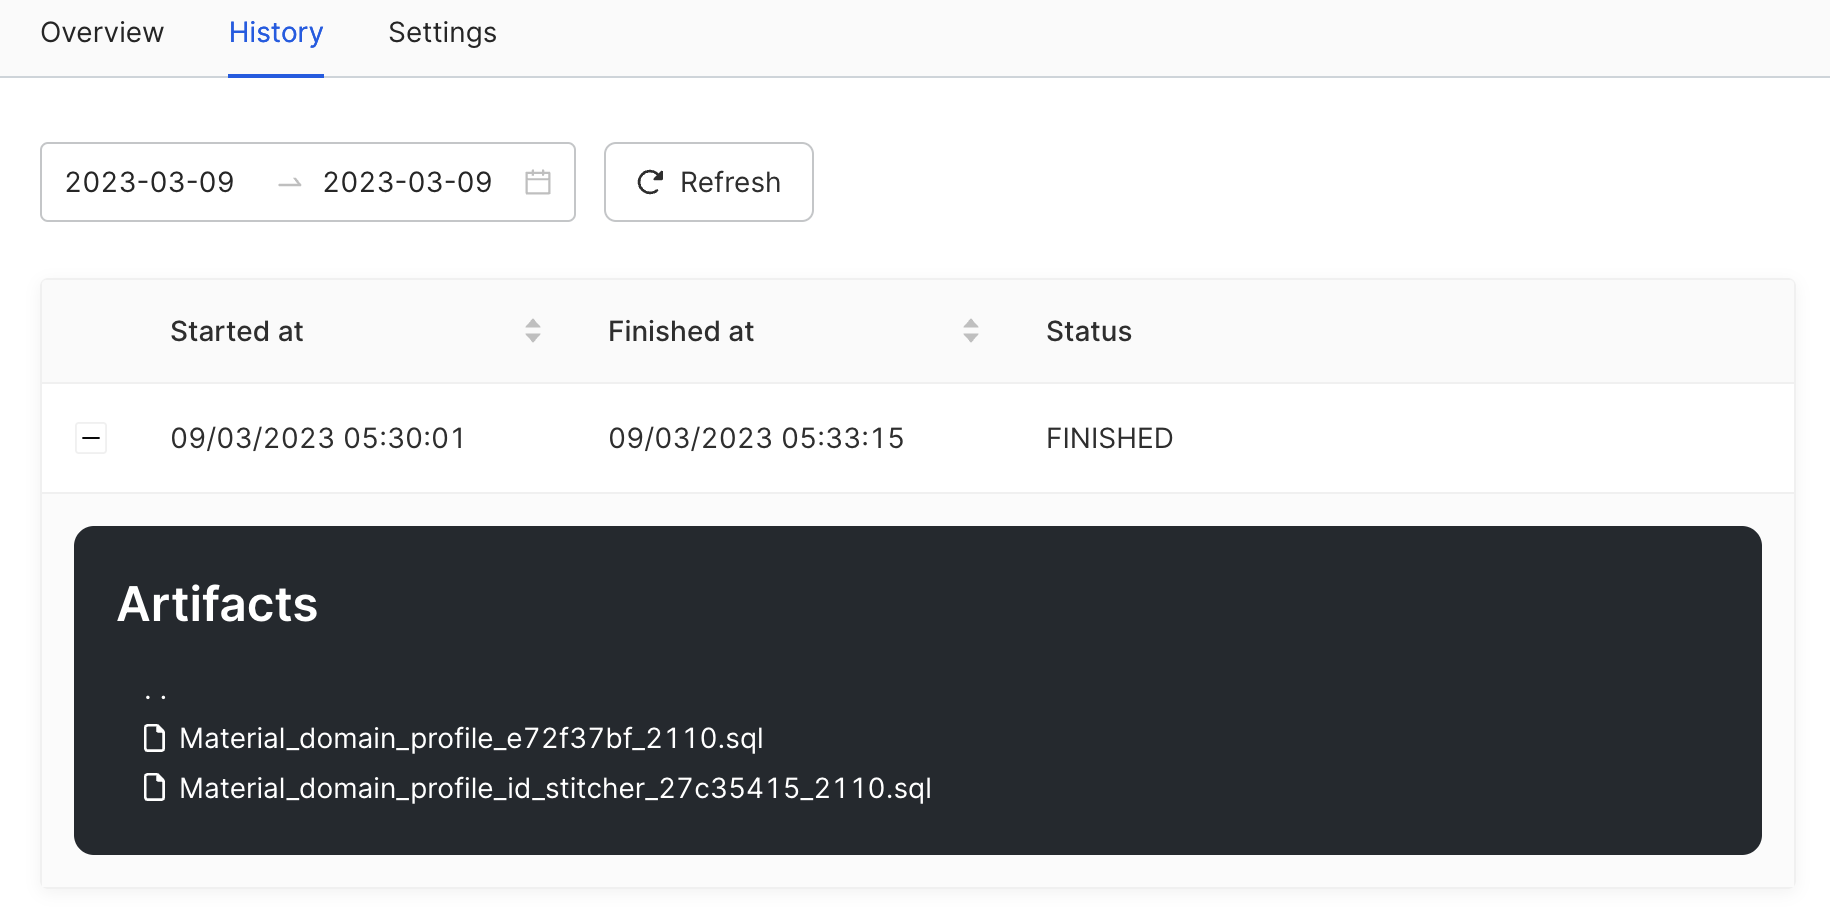
List of artifacts
To edit a profile, click on Settings and then click on the Pencil icon next to a section to edit it.
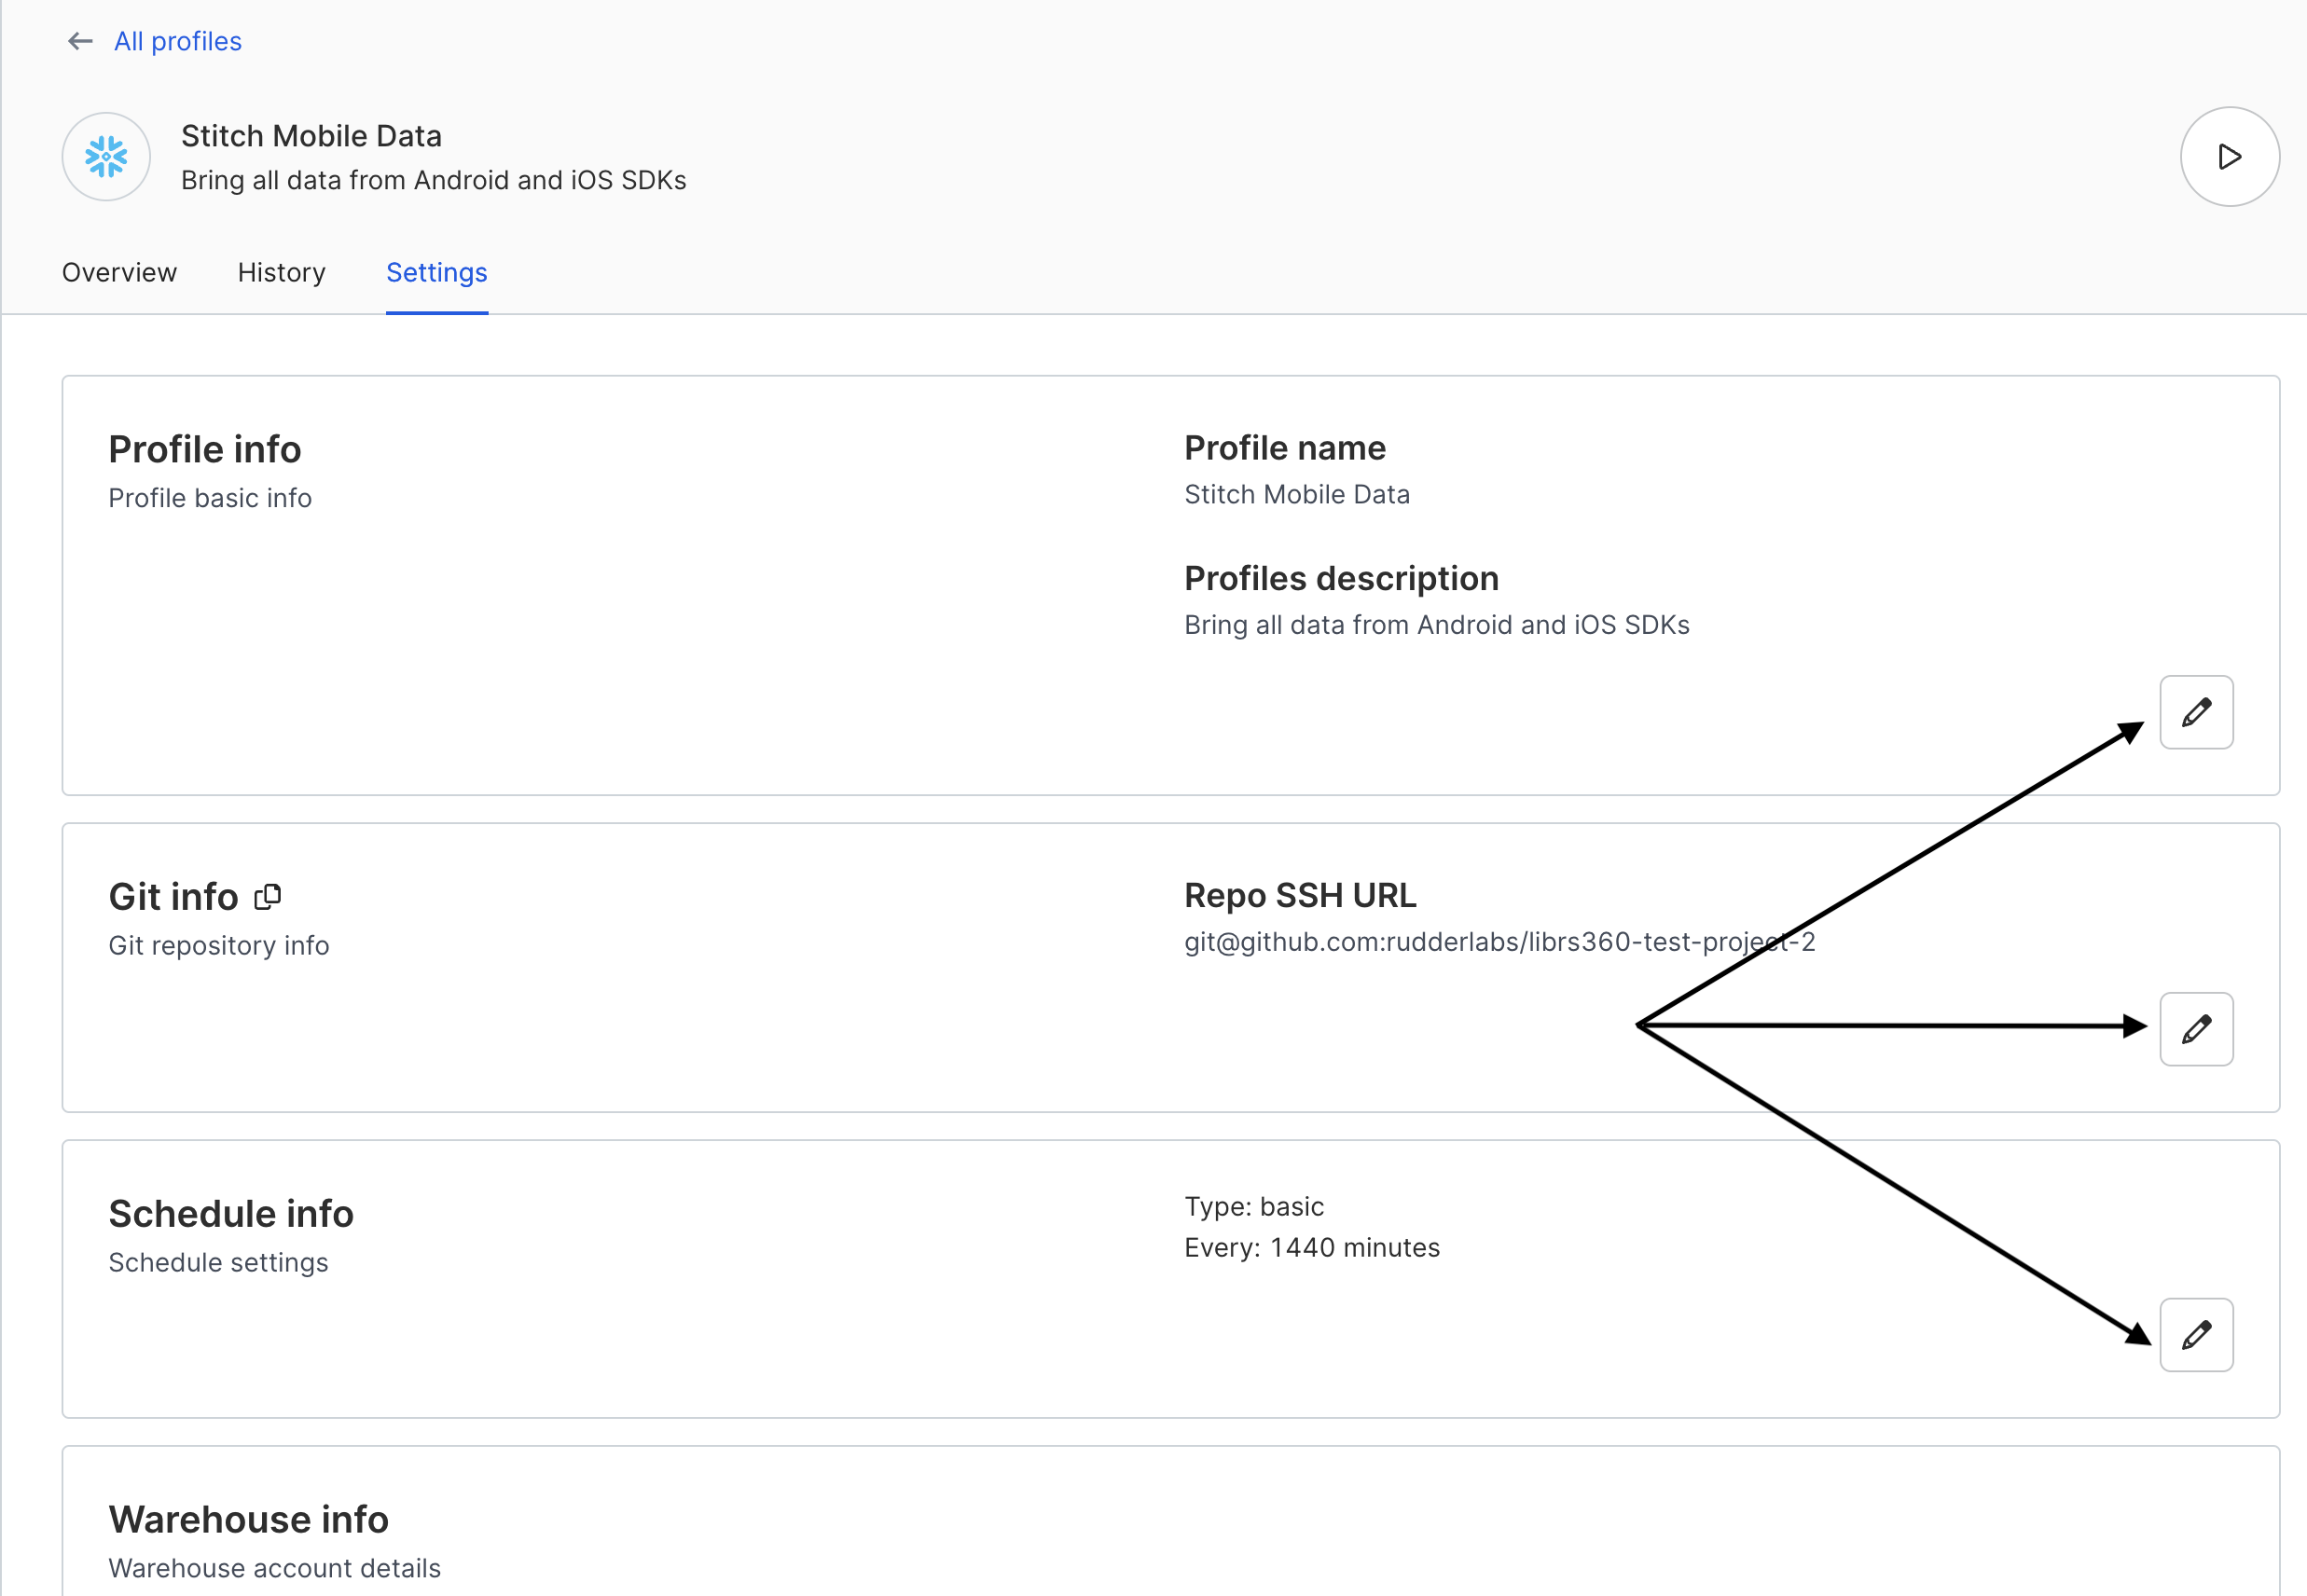
Edit a Profile
You can define multiple profiles.
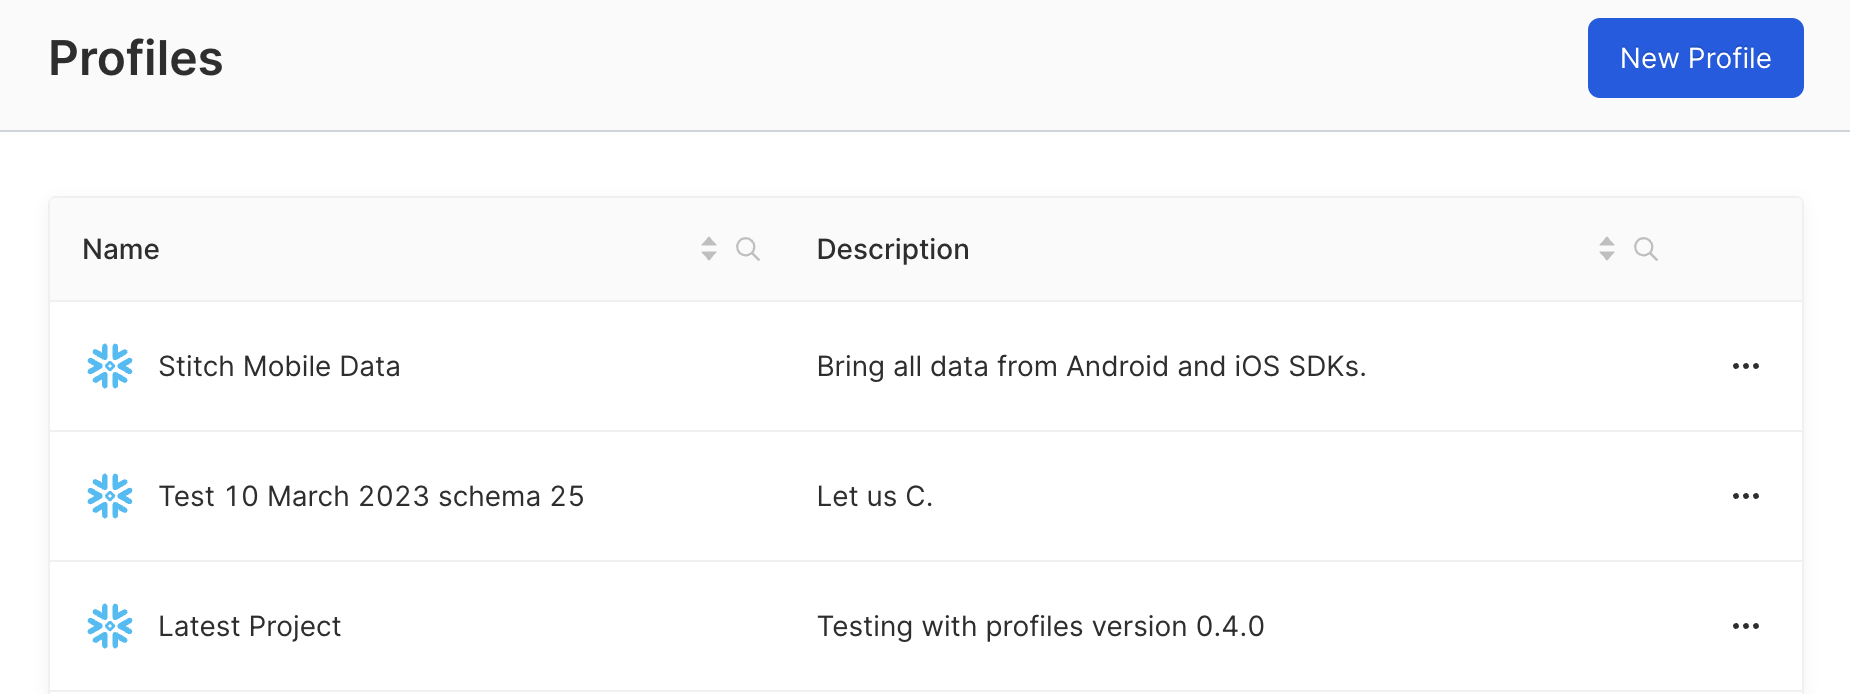
Profiles list