Scheduling
By making your WHT Project as a GIT Repository, you can seamlessly collaborate with your team mates, with modular control over your model files. Check out this link on making your project available as a git repository.
Prerequisites
You should have already created a git repository from your WHT project.
Follow these steps to configure WHT from the RudderStack web app
Go to RudderStack web app at app.rudderstack.com.
On the left side navigation bar, click on ‘Enhance’, then ‘WHT Project’.
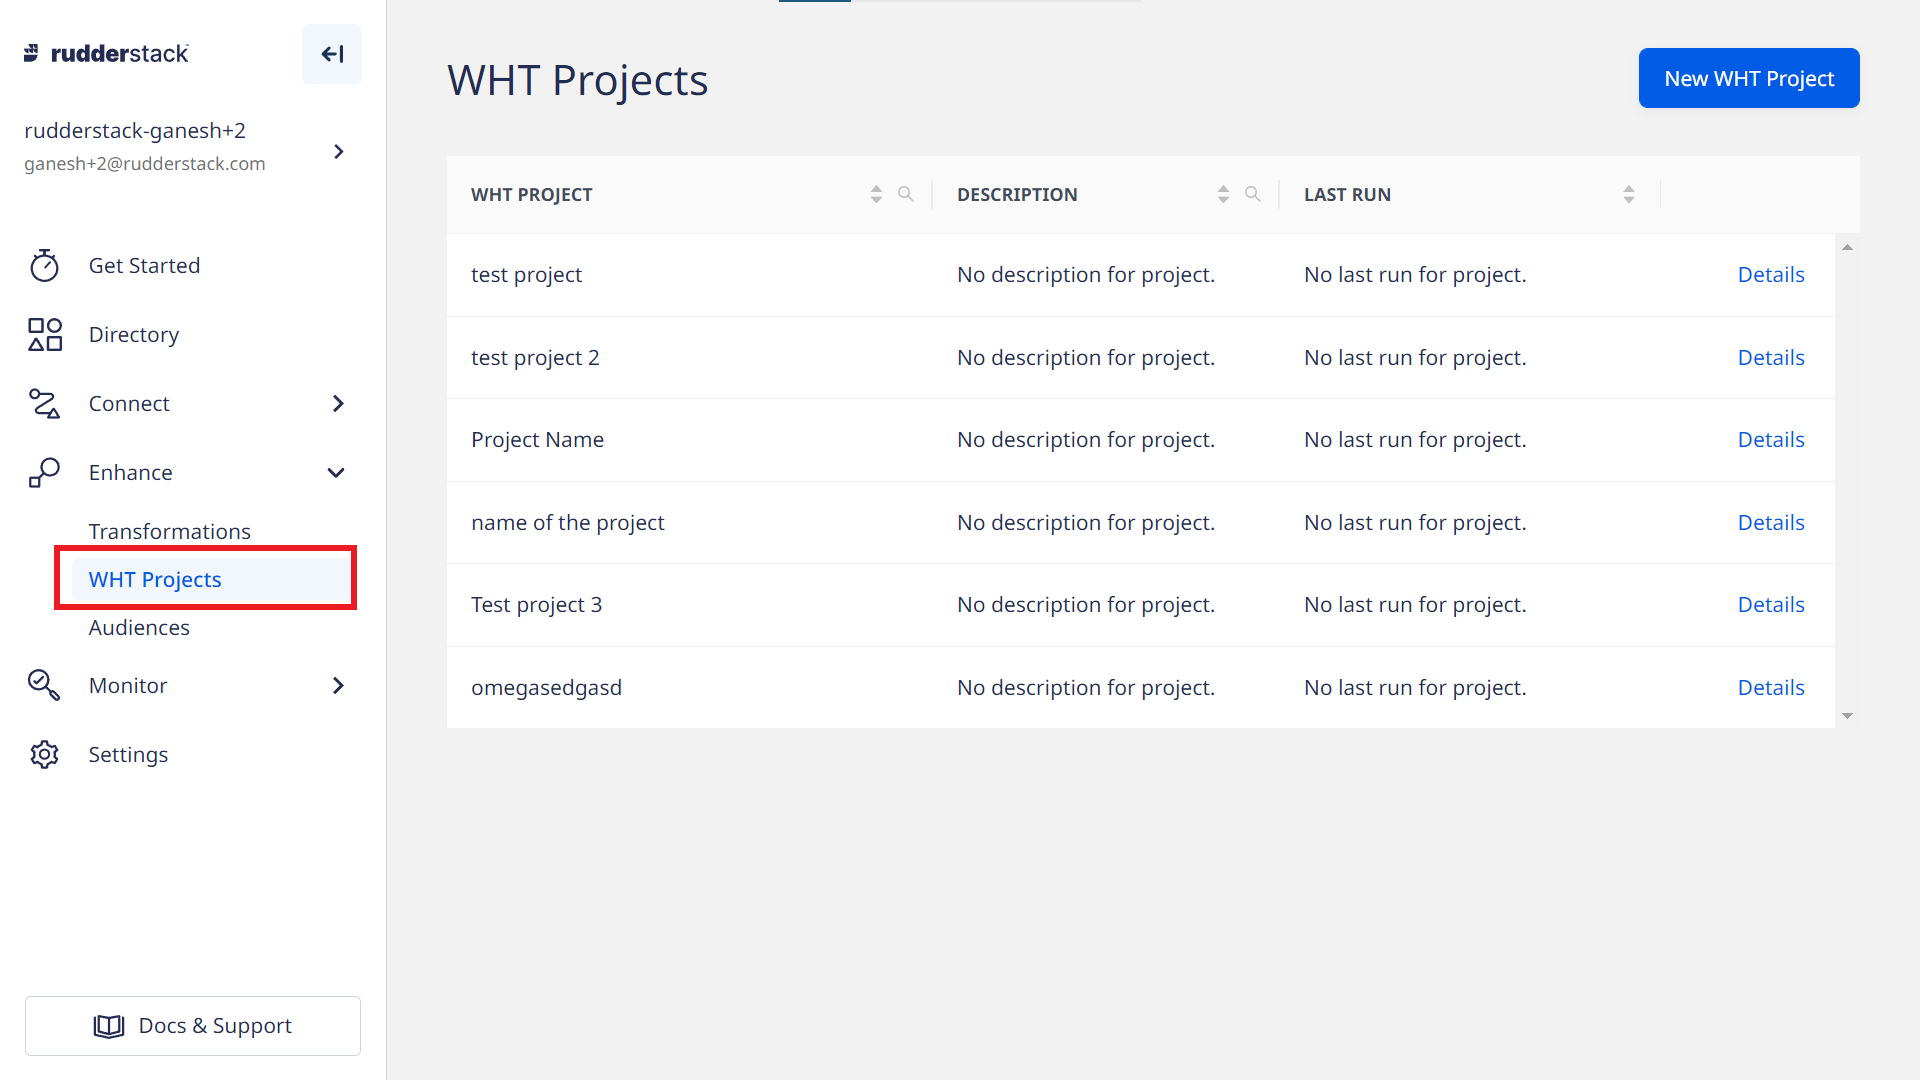
Fig. 2 Option Menu With “WHT Project”
On top right, click on the button ‘Create a new project’. Enter the Project name and description.
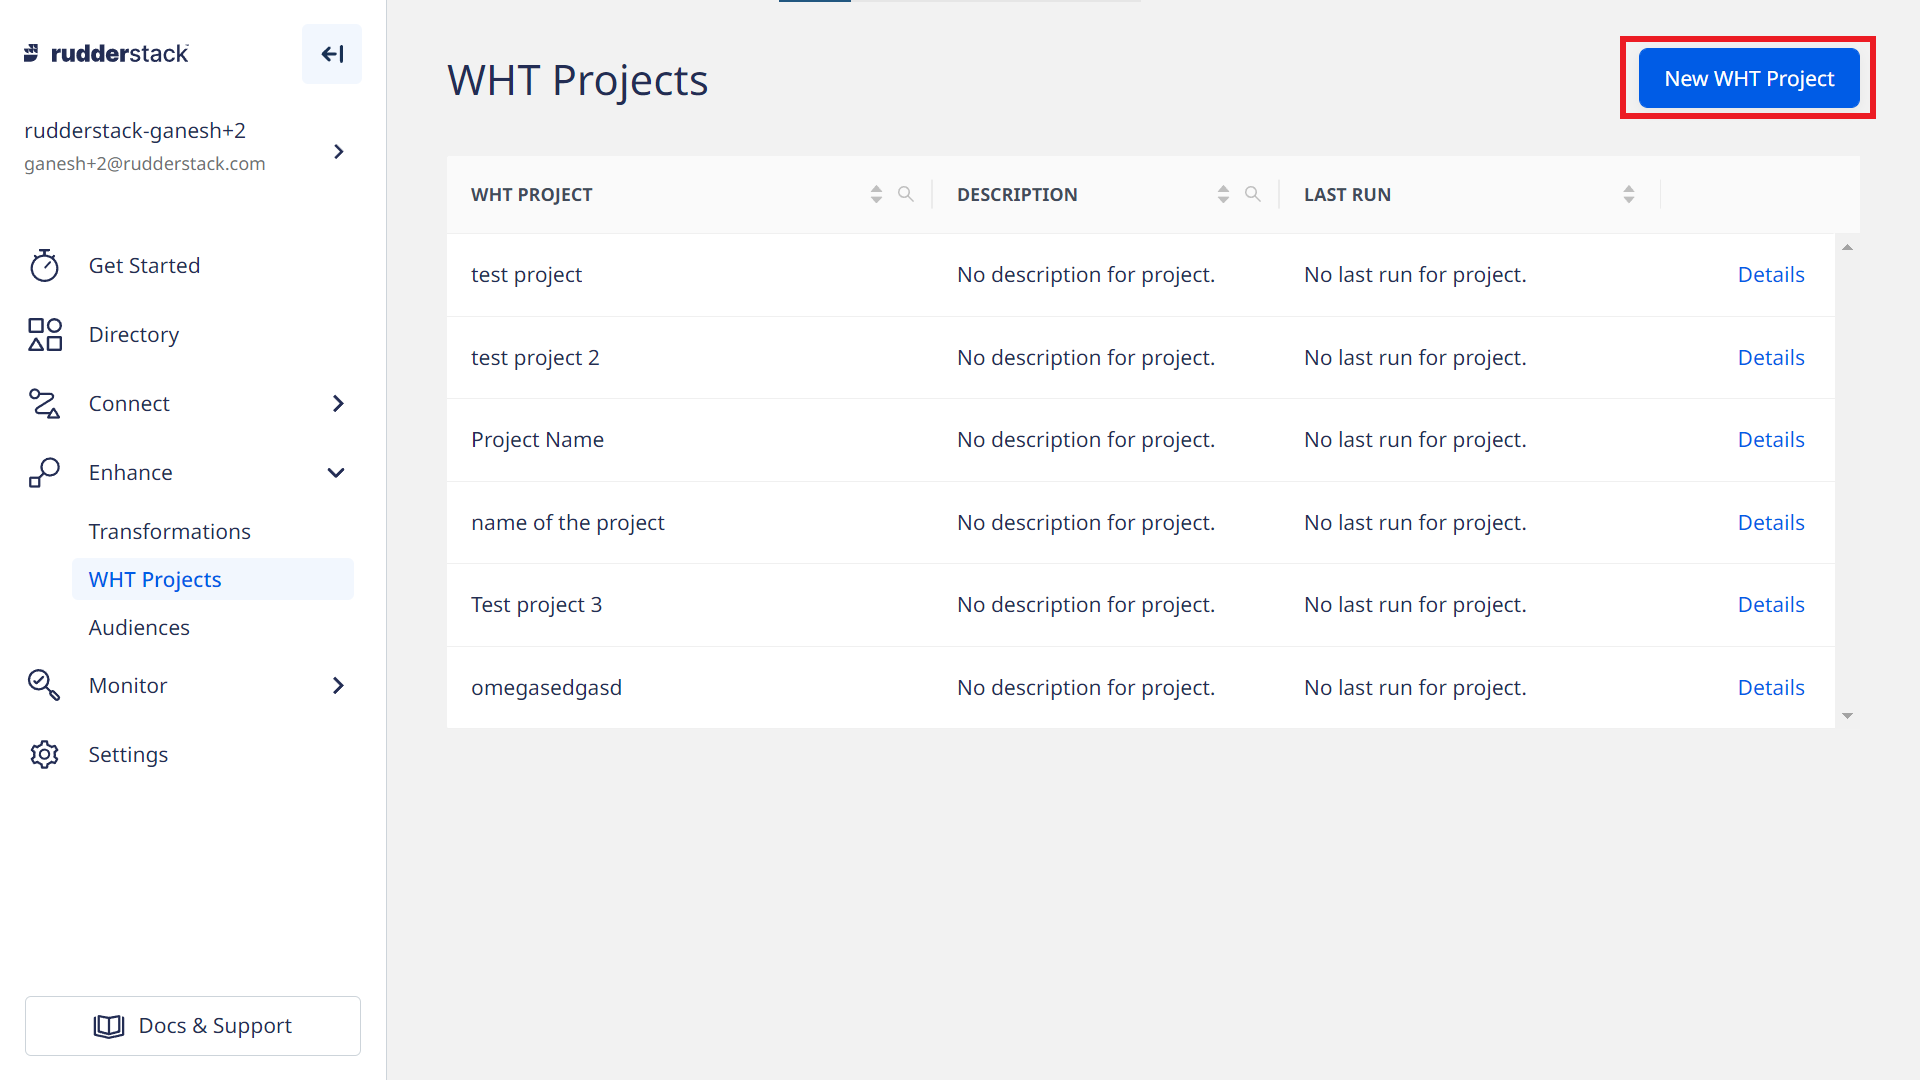
Fig. 3 Create New Project
Next, enter the GIT Repo URL along with GIT Repo SSH key.
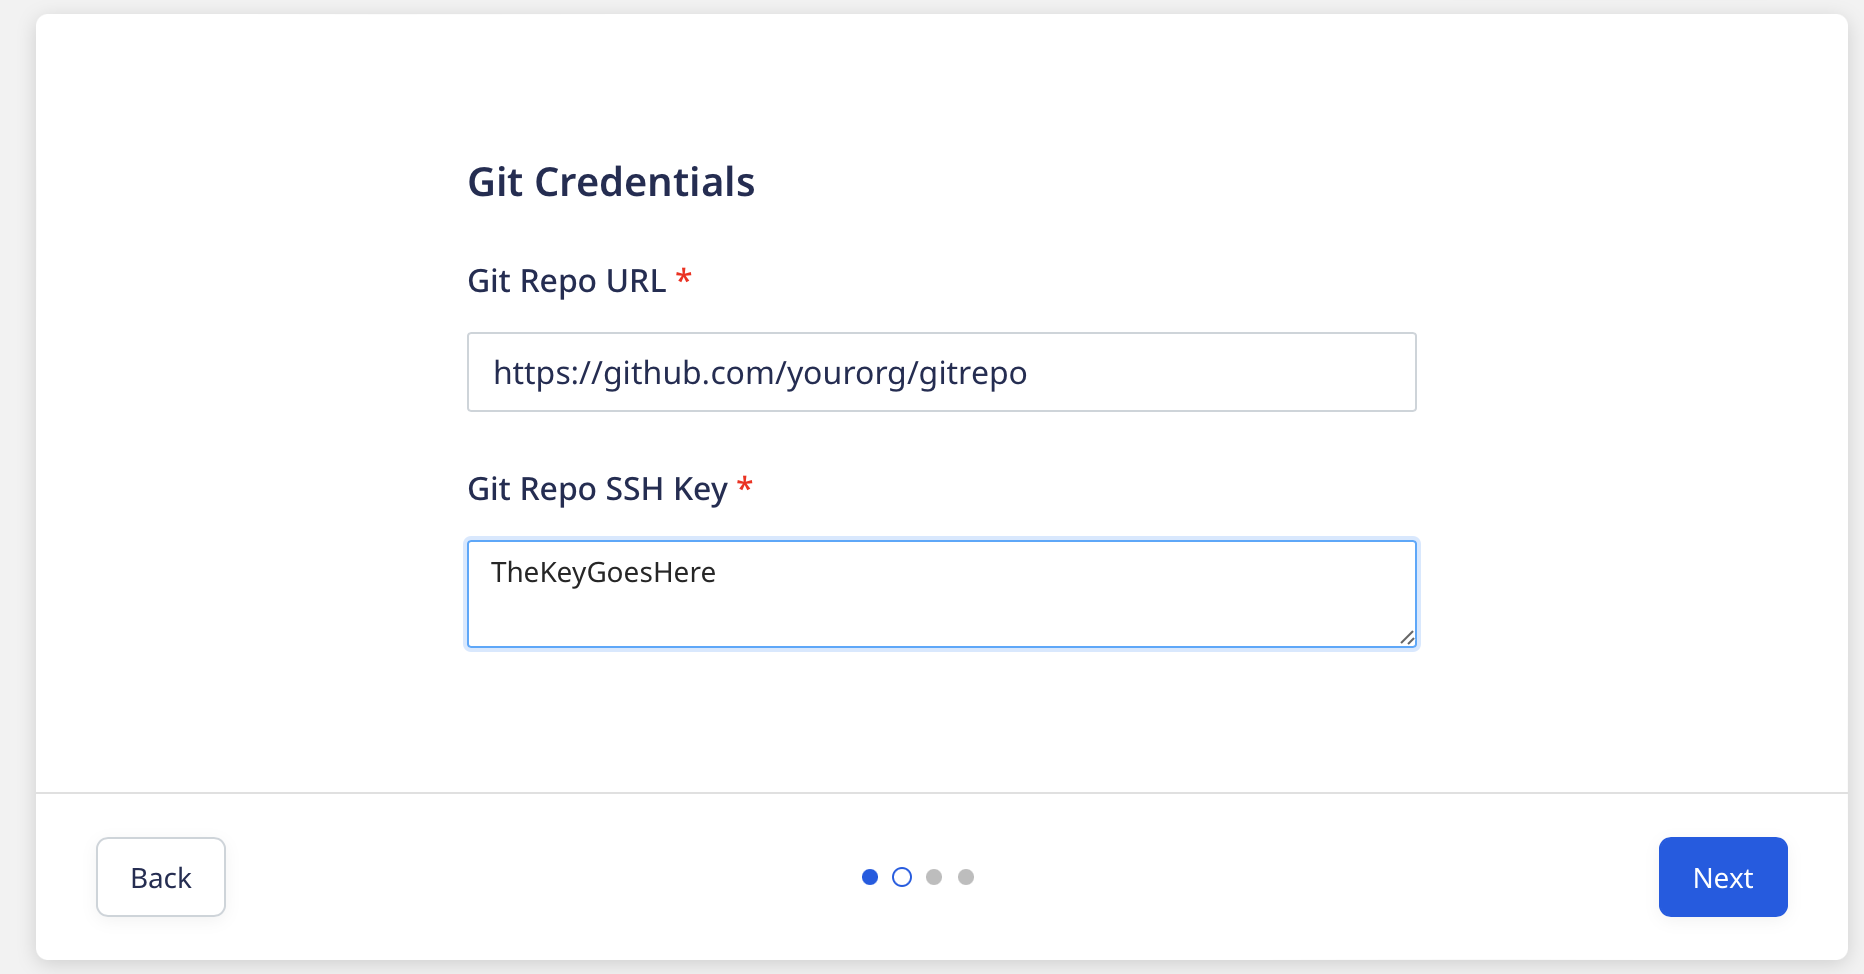
Fig. 4 Add GIT Repo Credentials
You must now enter data warehouse credentials such as Profile, Account, Database, Warehouse, User, Password, Schema, Role, and Cloud.
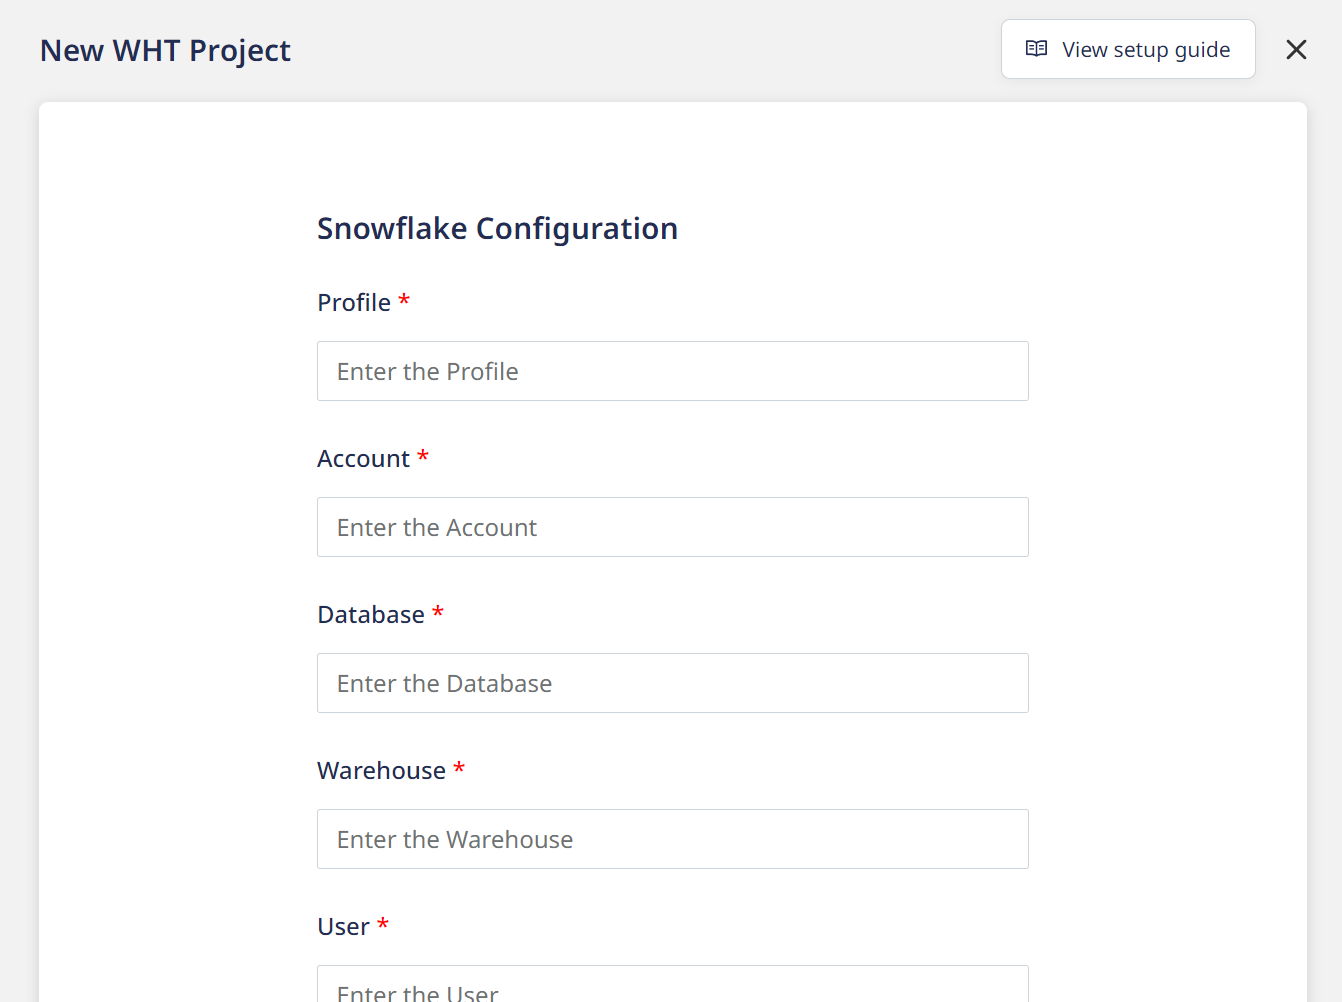
Fig. 5 Adding Warehouse Credentials
Now you can define the interval at which to automatically run the repo. Web app provides 3 scheduling options:
Basic: If you want to run on set of interval.Cron: If you want to run every 15 minutes or every 1 hour, etc. Click here to know more.Manual: Select this you if want to manually trigger run.
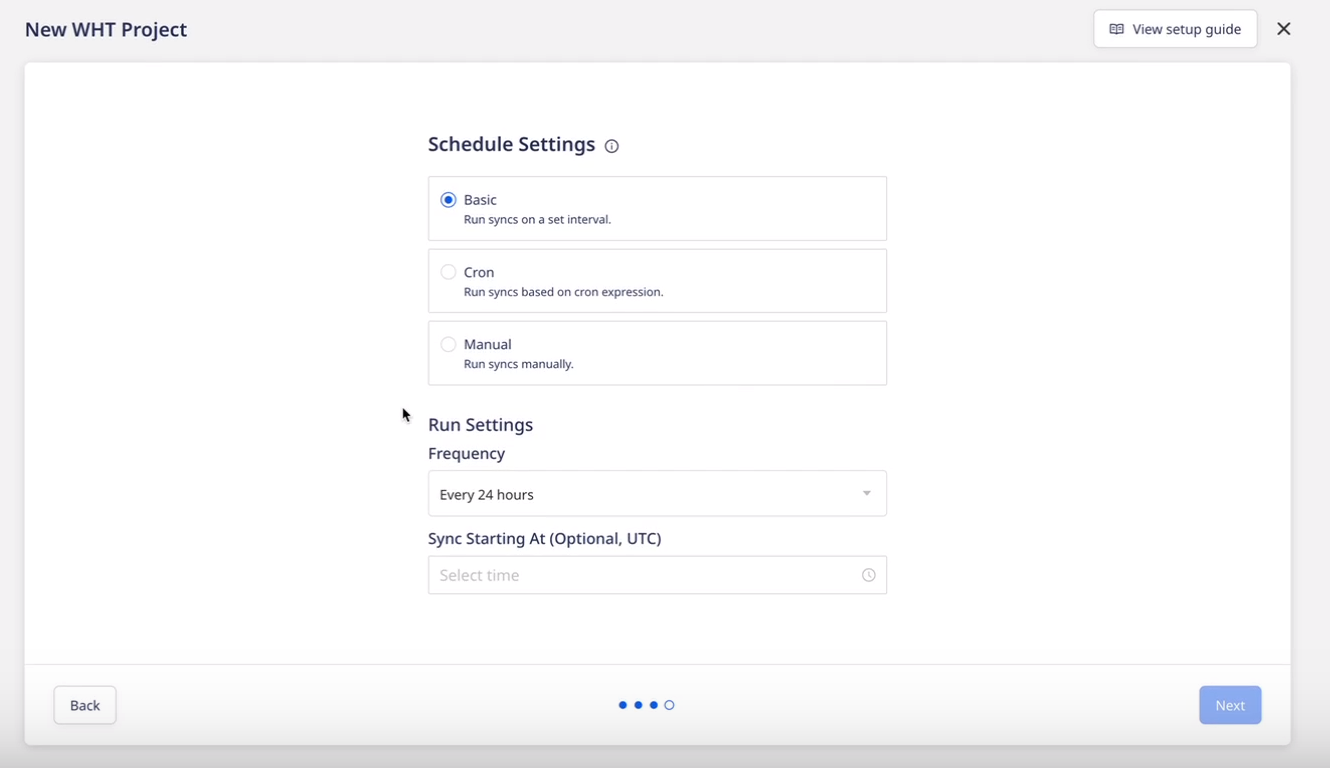
Fig. 6 Basic Scheduling
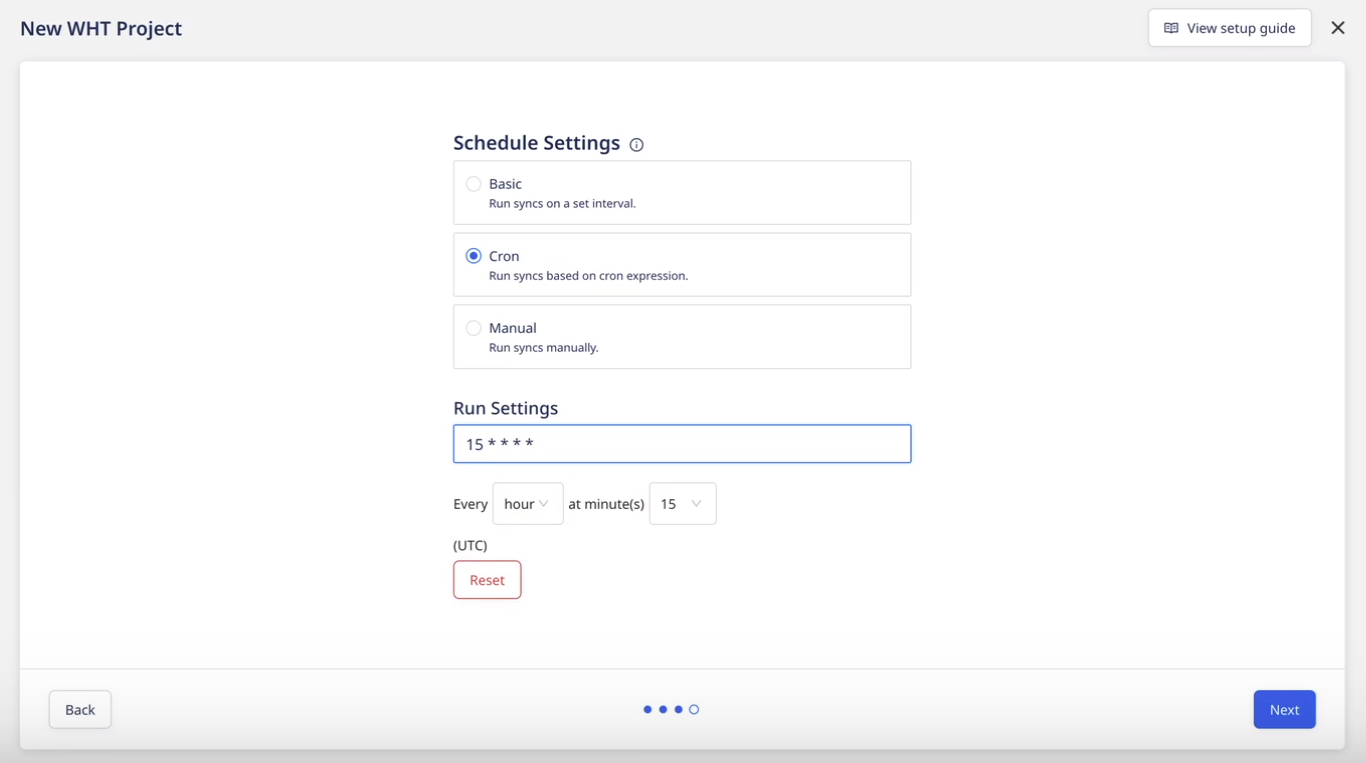
Fig. 7 Cron Scheduling
After creating project, you will see it in the list of project. Click on details. You will get option to manually trigger run or view all previous run.
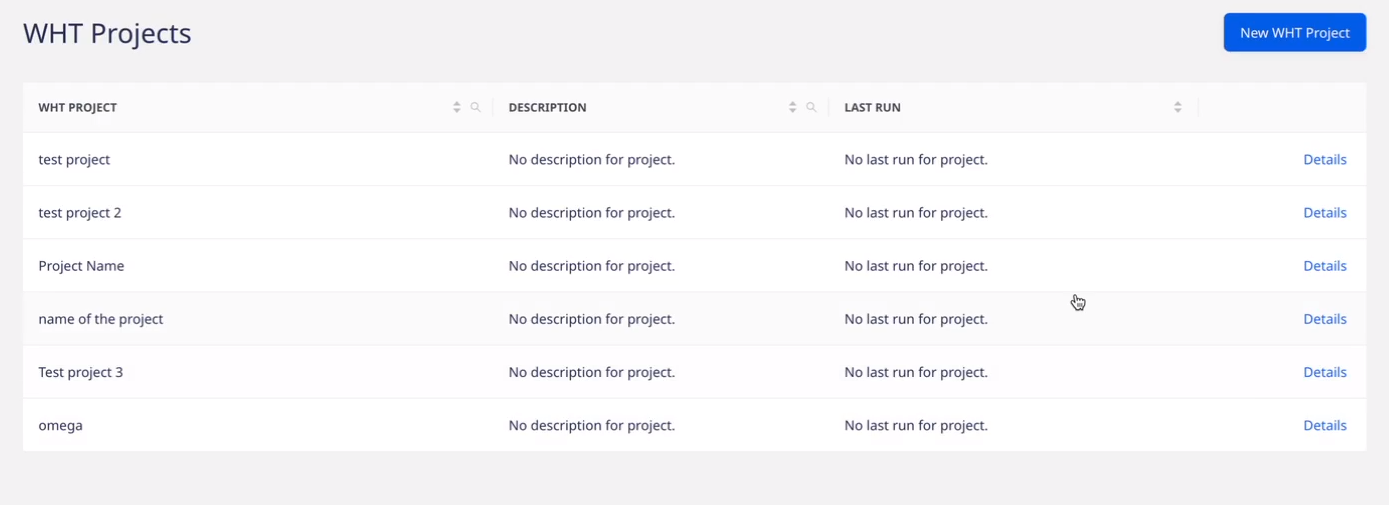
Fig. 8 WHT project list
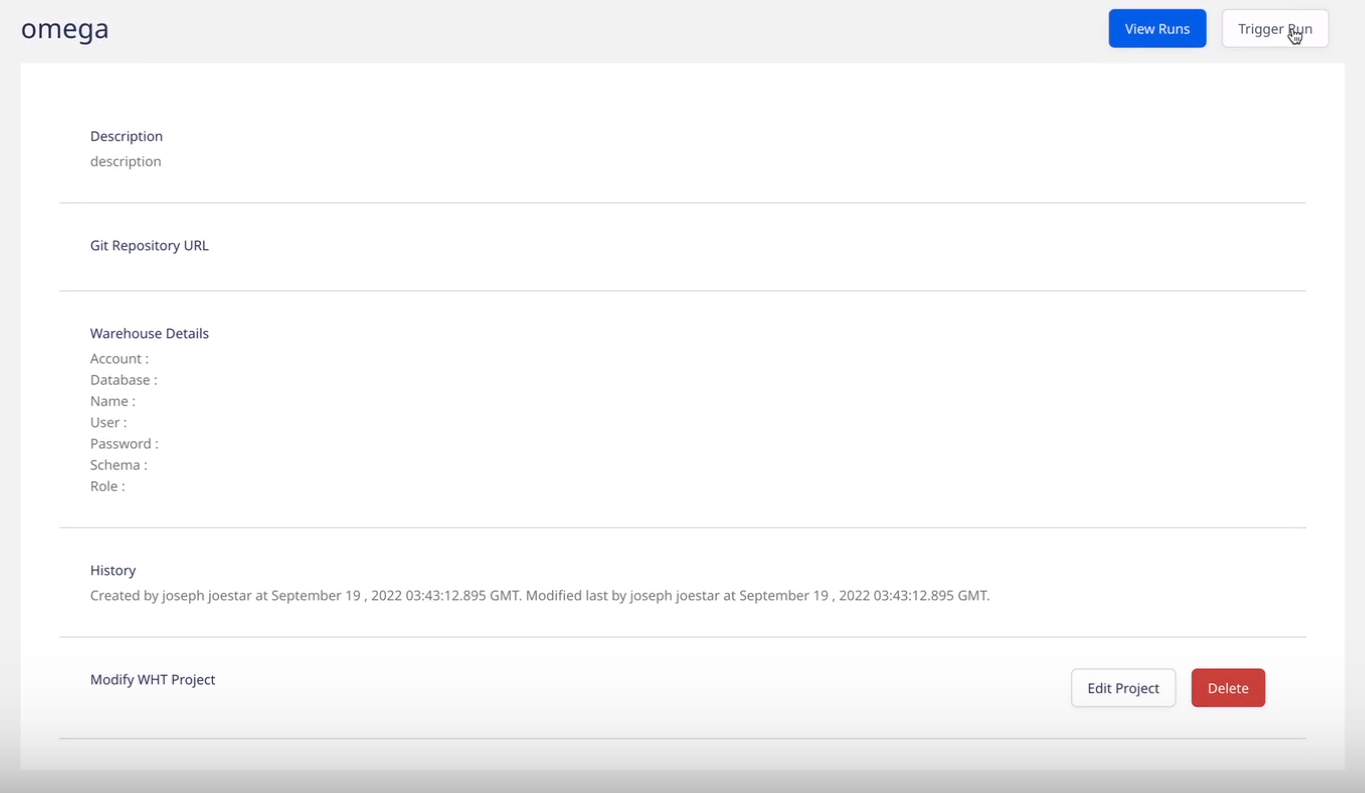
Fig. 9 WHT project details
Click on view runs to see a list of all previous runs.

Fig. 10 List of current and previous run instances of project
If any error message is there then it’ll be displayed on screen when you click on link in the list.
By selecting the Add button, you will obtain folder-wise artefacts and logging. If any errors occur, the cause will be listed in a file called log.txt. You will get both the most recent and older artefacts and logging along wih option for download.

Fig. 11 Artefacts folders
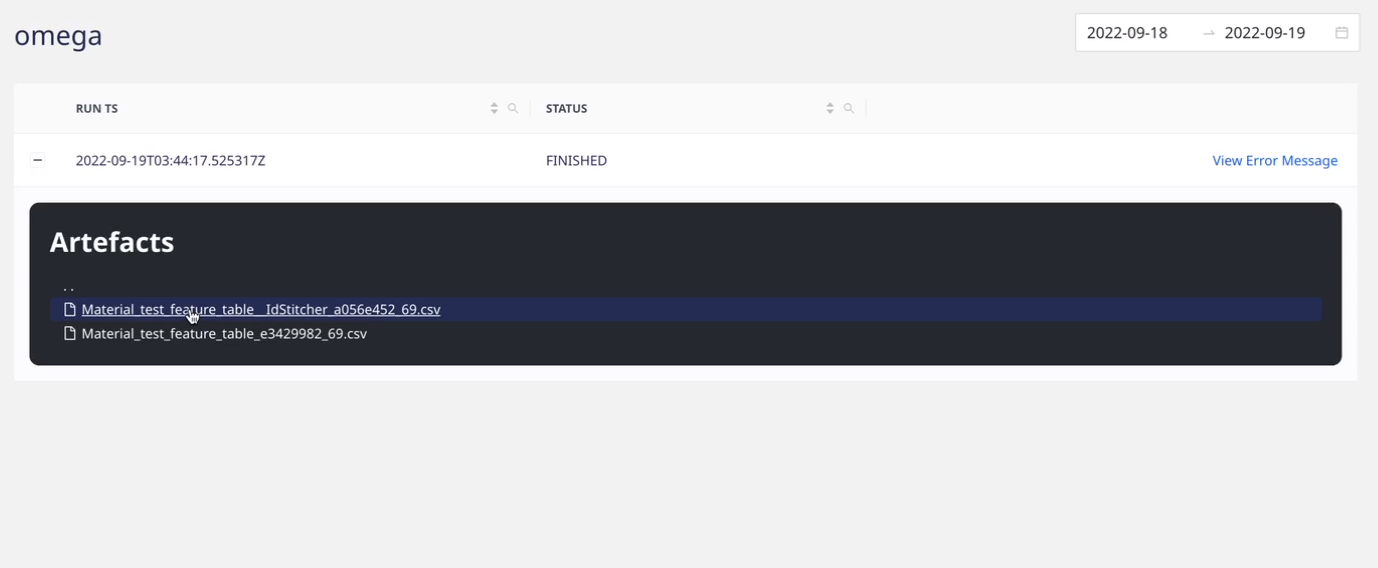
Fig. 12 List of artefacts